Inviting users to the account
NAVIGATION Administration > Configuration > Teams and Users > All Users > Invite users
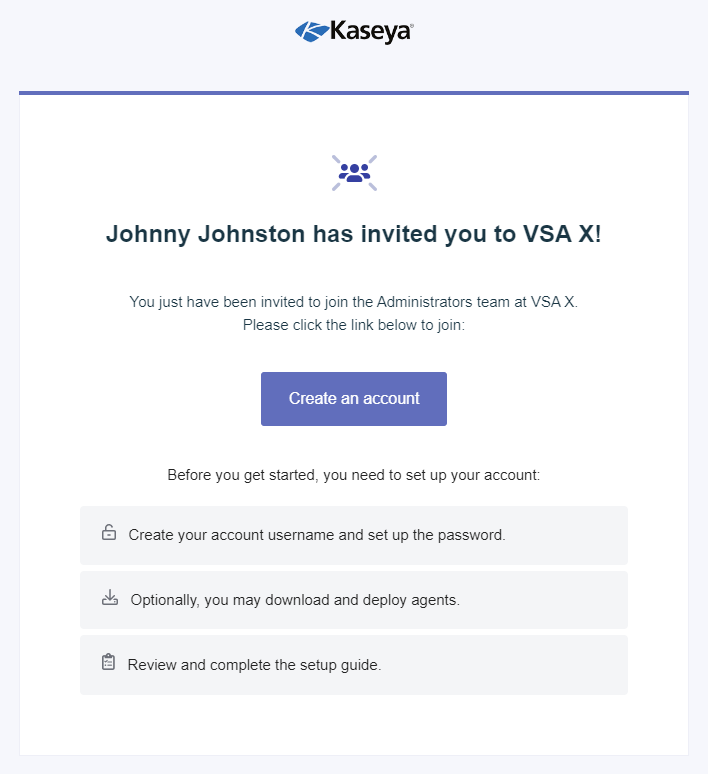
NAVIGATION VSA 10 welcome email > Create an account
PERMISSIONS Administrator
Administrators are responsible for adding or inviting new users to a VSA 10 account.
One option for adding users is for administrators to create a new user account while logged in to their own user account. For instructions, refer to Creating user accounts. Another option is for administrators to invite users via email to create their own user account, as described in this topic.
Invite a user to create an account as follows:
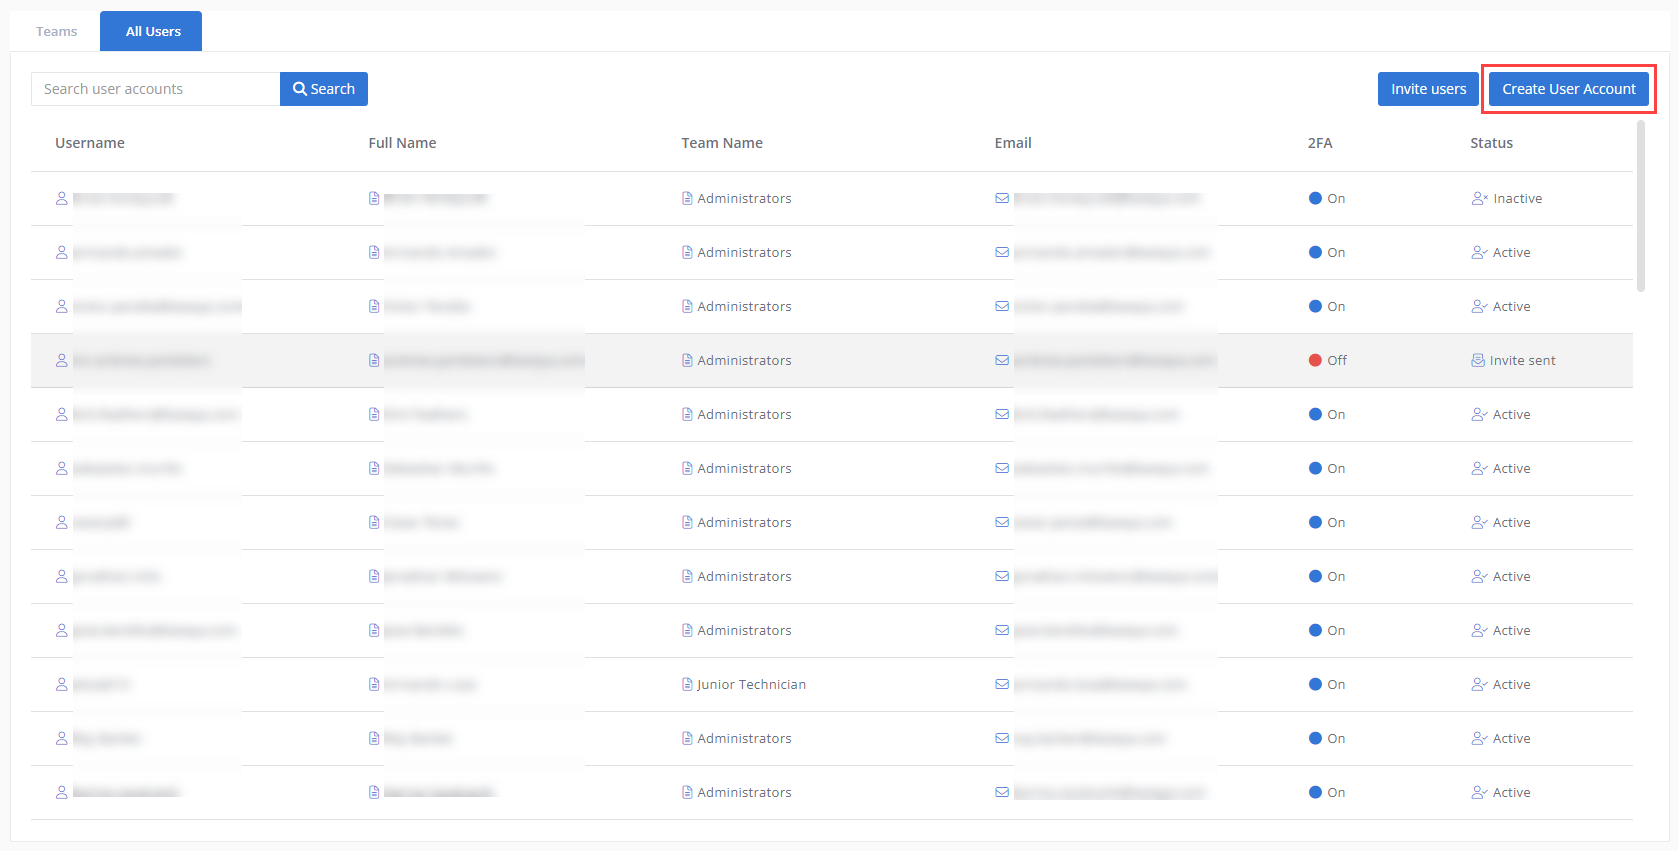
- Click Invite users in the upper-right corner of the All Users page.
- Enter the email address of the prospect you wish to invite to create an account. You can invite multiple prospects at once by clicking Add user in the upper-left corner of the window.
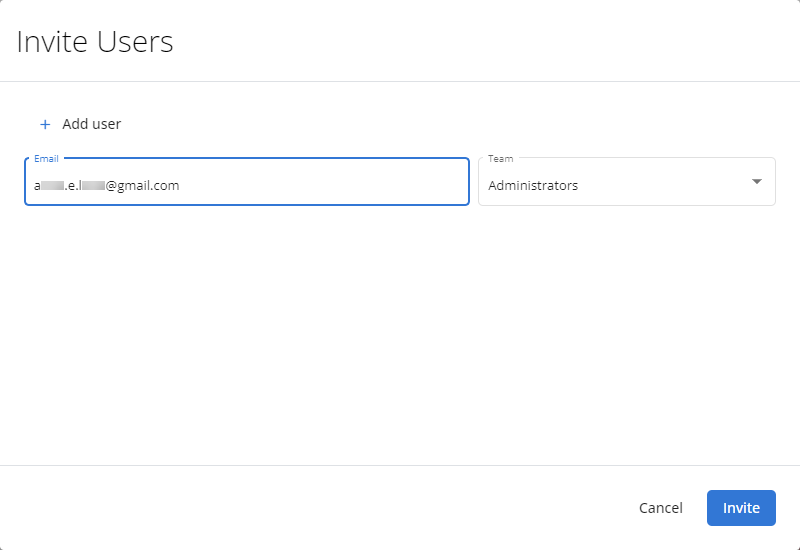
- From the drop-down menu, select a teams to assign the user to, which can be changed any time. Refer to Teams in Managing teams and users.
- Click Invite to automatically send a welcome email to the prospect(s).
The invited prospect is automatically added to the list of users, denoted by the following:
- The row is gray in color to indicate the user is pending.
- The Username is prefixed with inv. followed by the prefix of the prospect's email address to which the invitation was sent. The user will be required to enter a custom username upon account creation, which will replace this value.
- The Full Name is set as the prospect's email address to which the invitation was sent. The user will be required to enter a custom full name upon account creation, which will replace this value.
- The Status column displays Invite sent until the prospect completes account creation via the welcome email.
Invited user account creation
When an invited prospect clicks Create an account in the email, the Create a User Account page opens in VSA 10. The prospect should complete the following steps to complete account creation:
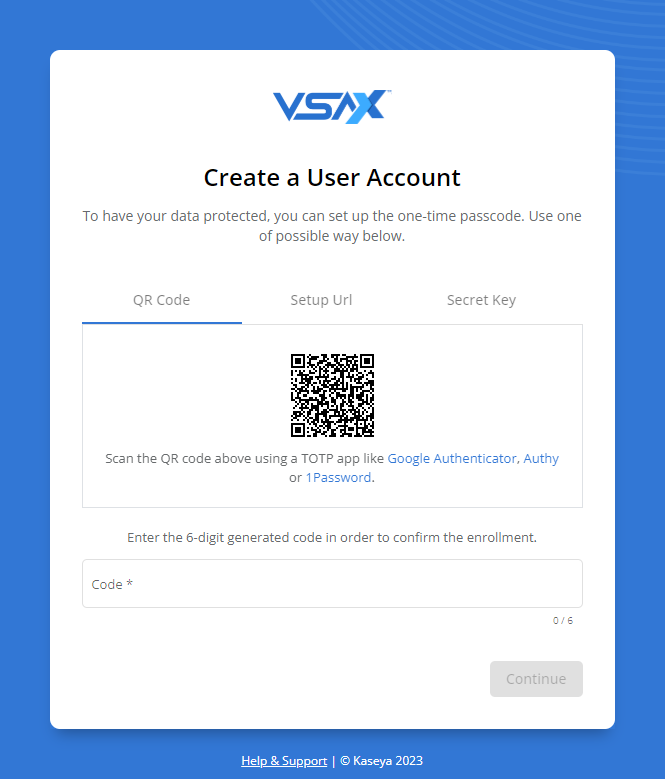
- In the fields on the Create a User Account page, enter a username, full name, password, and confirmation of the password, all of which are required. Error notes and indicators will inform you if the fields do not match or if the value entered does not meet the strong password requirements. Refer to Strong password requirements.
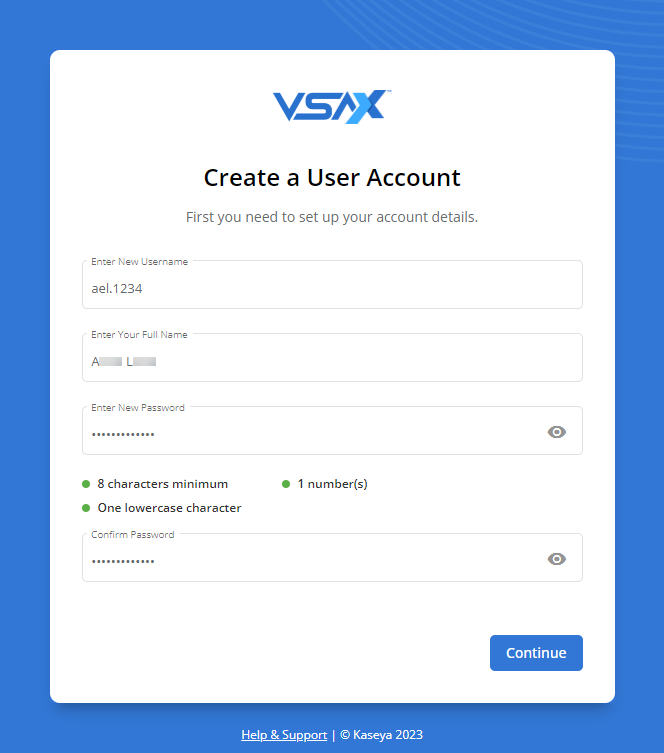
- Click Continue.
- You are required to set up the one-time passcode method of 2FA via an authenticator application. For detailed instructions about 2FA in VSA 10 and this method, refer to Two-factor authentication and One-time passcode.
- Each VSA 10 user account is preloaded with 10 unique active backup codes that can be used to execute 2FA in the event that trusted mobile device verification or a one-time passcode via an authenticator app is unavailable. The backup codes are provided at this step. Be sure to save the 10 account backup codes in a secure, accessible digital location. Once the backup codes are saved, select the I confirm that I saved my backup codes check box. For more information, refer to Backup codes.
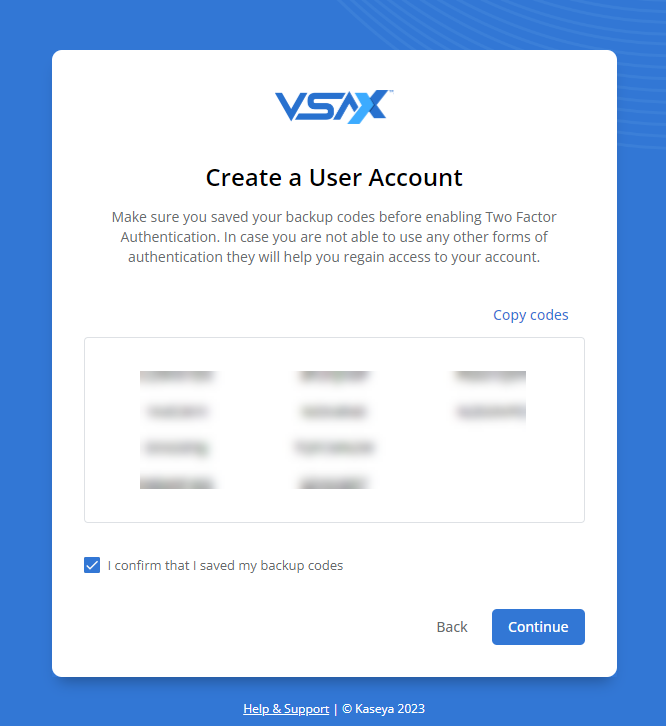
- Click Continue.
- On the Download agent page, click the button to download the VSA 10 Agent for your applicable operating system on your device. If your operating system does not appear as the default, click See all available agents to select from the complete list. For more information, refer to Discovering and deploying devices.
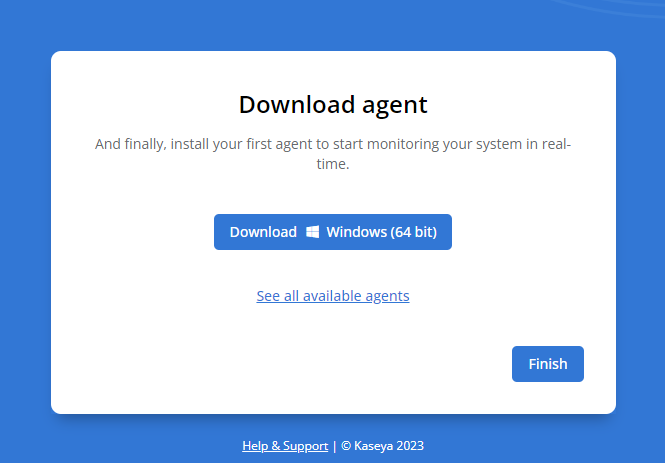
- Click Finish, and you will be logged in to your new user account.
Following successful account creation, the user's Status changes to Active.


