Performance Counters profiles
NAVIGATION Administration > Configuration > Profiles > New Profile > Performance Counters (Monitoring) profile type
NAVIGATION Administration > Configuration > Policies
PERMISSIONS Administrator
Using the Performance Counters type of Monitoring profile, you have the ability to notify on and collect historical data for performance counters.
Counters are used to provide information as to how well the operating system or an application, service, or driver is performing. The counter data can help determine system bottlenecks and fine-tune system and application performance.
You can define, import, and export performance counters as well as choose whether you want to notify on those counters when defined thresholds are met, collect historical data for charts, or both.
For a comprehensive overview of how profiles and policies work in VSA 10, refer to Policies overview.
Profile configuration settings
In General Settings, select if you want to enable or disable notifications for performance counters as well as collection of historical data for charts. You can also choose to defer to agent settings for either or both of these settings. If deferring to agent settings, refer to Enabling performance counter monitoring.
In Counters Settings, you can choose where to pull the counters being monitored from the following options:
- Use services from profile: Only performance counters defined in the profile will be monitored.
- Use services from agent: Only performance counters defined in the VSA X Manager application will be monitored.
- Use both options: All performance counters defined in the profile and the VSA X Manager application will be monitored.
In this section, you can view and edit all the counters you've added to the profile and add additional ones using one of the three buttons: Import from System, Import from Profile, and Add Counter.
Importing performance counters from a system is the easiest way to add new counters.
After clicking Import from System, select the system you want to read performance counters from, select the category, the instance (if necessary) and then which counters you wish to monitor: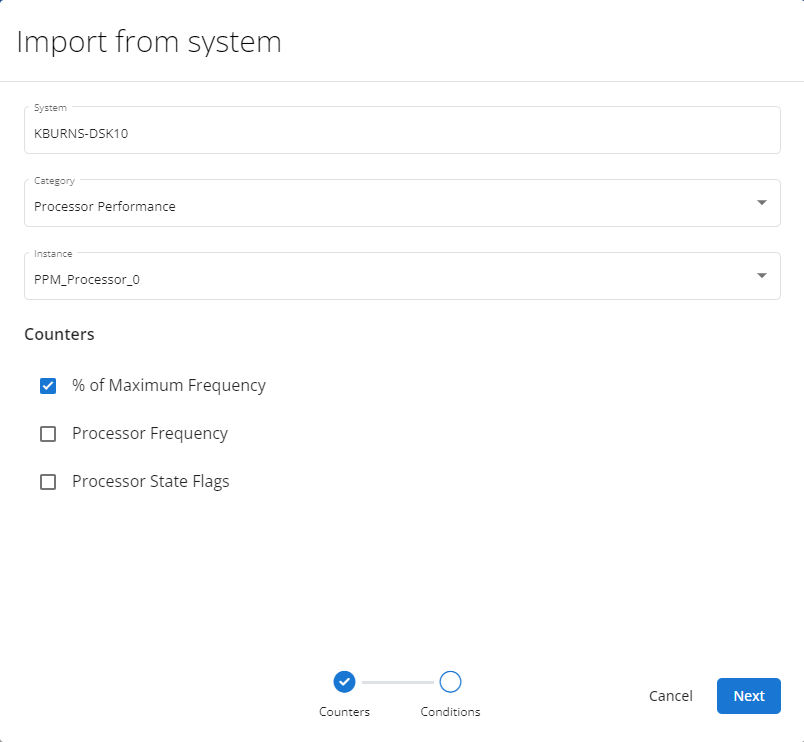
Once that has been configured, click Next to configure the conditions that will raise a notification for the selected performance counter. You can add multiple conditions to the same performance counter: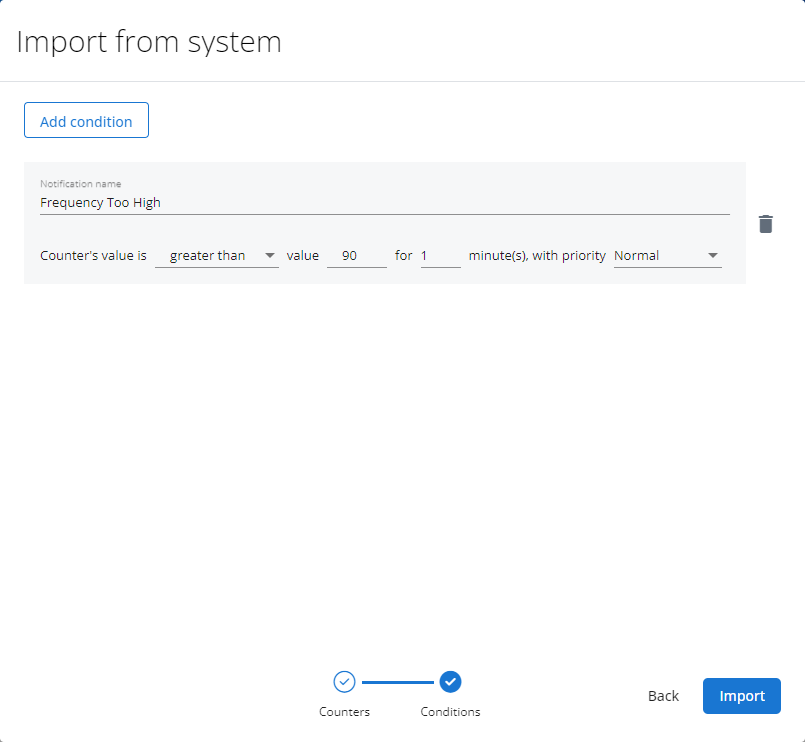
Then, click Import to add the performance counter to the profile and add more counters as needed.
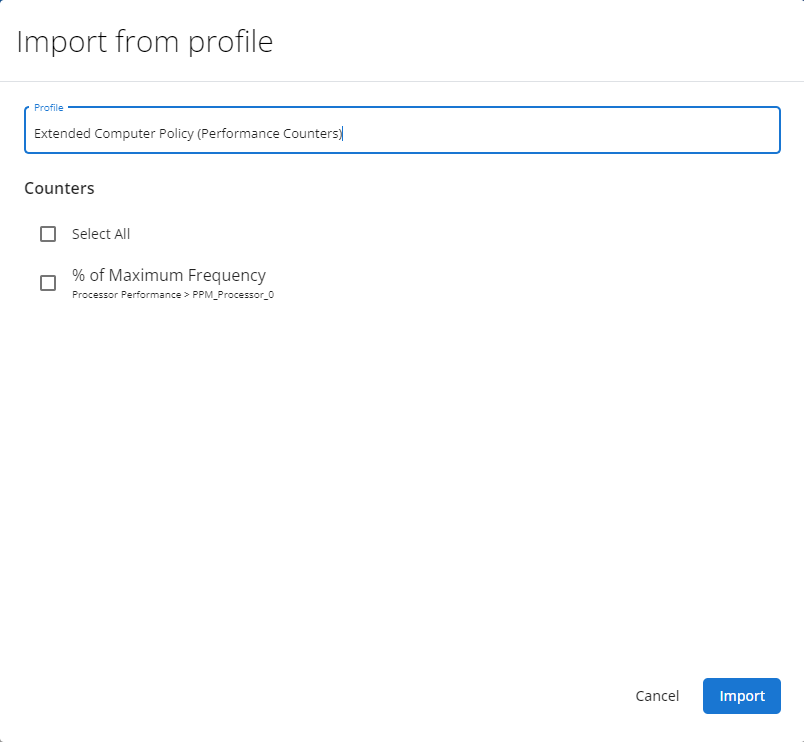
Click Import from Profile if you've already configured performance counters in another Performance Counters type Monitoring profile and want to copy all or some of those into a new one.
Once you select the profile you wish to import performance counters from, select the counters you wish to import, or select Select All to select all of them at once, and then click Import.
After the performance counters are imported into the profile, you can edit them as needed.
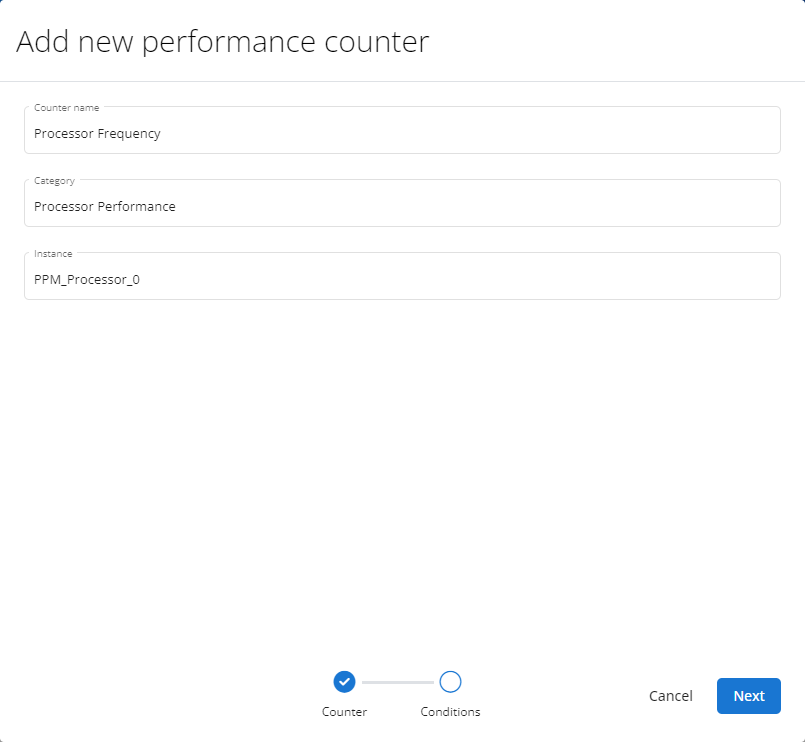
Click Add Counter if you want to manually configure performance counters. This is useful if you are unable to pull the counters you need from existing devices or profiles.
First, configure the performance counter you wish to monitor. Ensure you enter the Category and Instance accurately, or else the monitor will not find the counter.
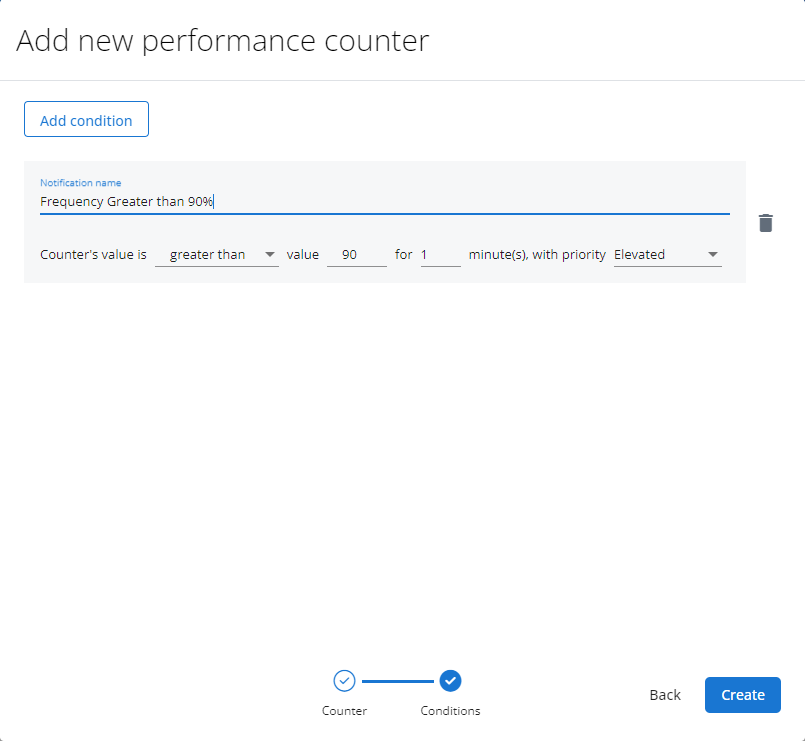
Once that has been configured, click Next to configure the conditions that will raise a notification for the selected performance counter. You can add multiple conditions to the same performance counter.
With the conditions configured, click Create to add the performance counter to the profile.
How to...
To create a Performance Counters profile, complete the following steps:
- From the left navigation menu in VSA 10, navigate to Configuration > Profiles.
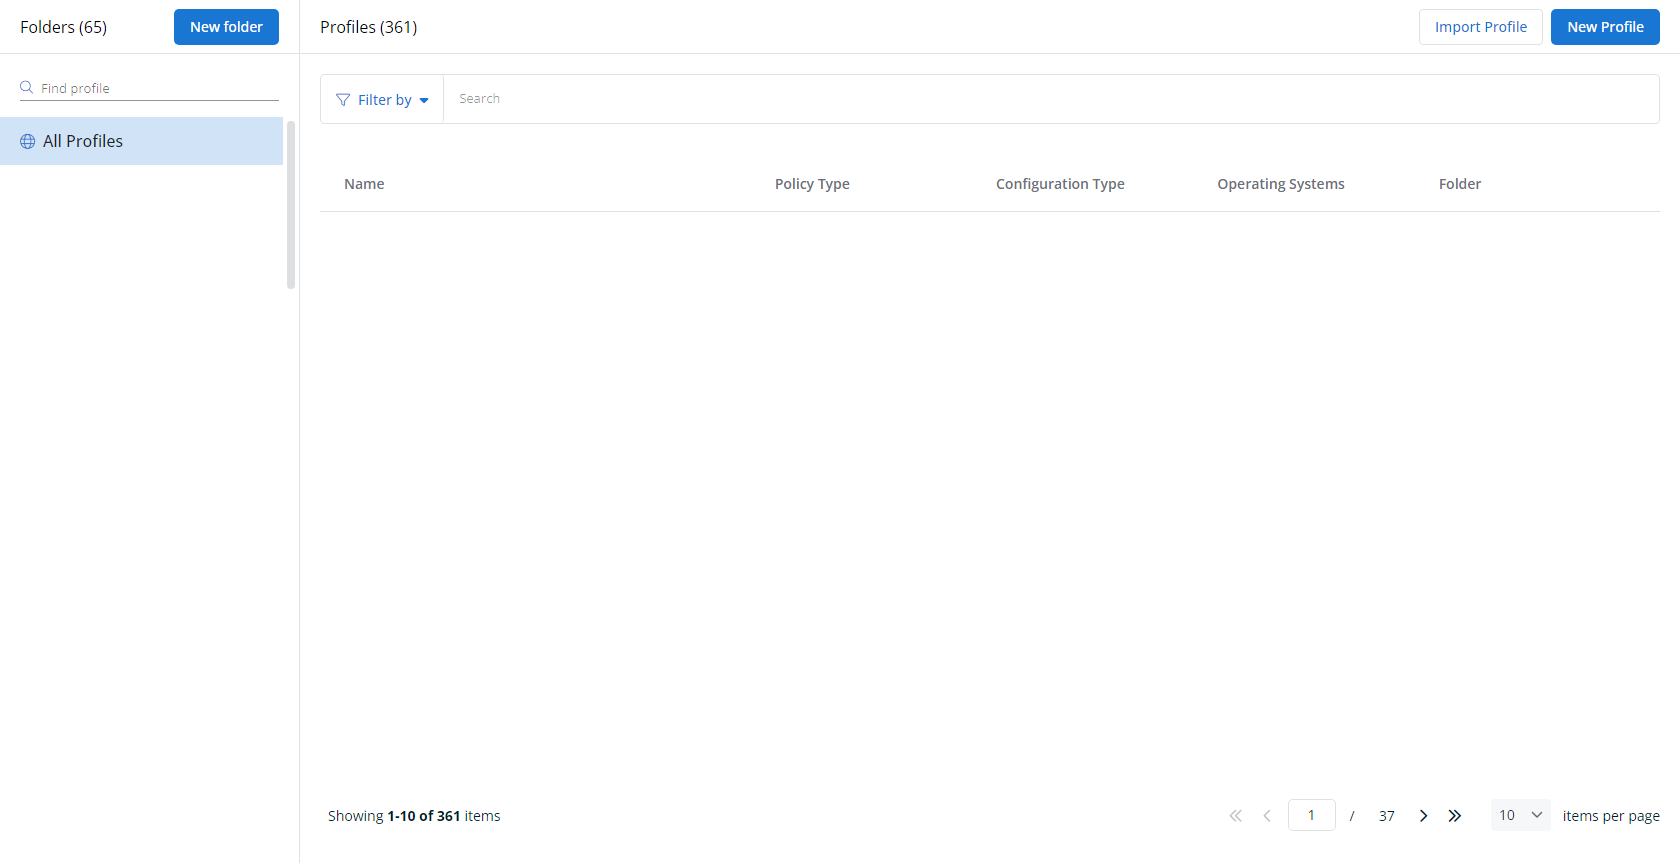
- The Profiles page will load. At the top of the page, click New Profile.
-
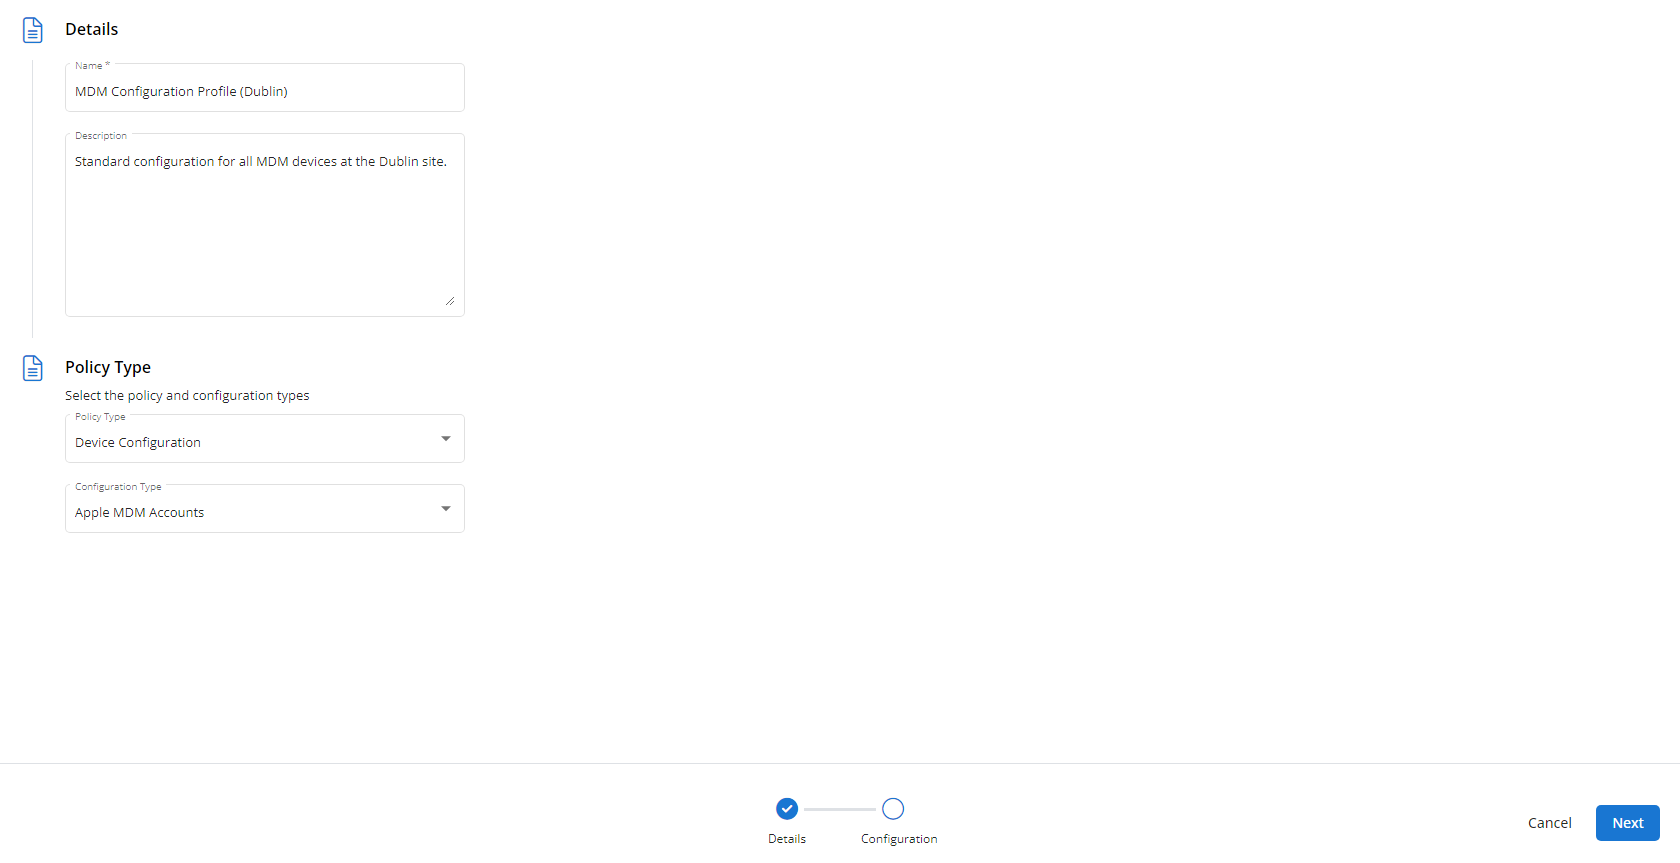
The Create New Profile page will load.
- In the Name section, enter a name for the profile.
- Optionally, enter information about the profile in the Description section.
- In the Profile Type section, select Performance Counters underneath Monitoring.
- Optionally, assign relevant tags in the Content Tag section.
- Click Next.
- Customize the profile to your needs. Reference the Profile configuration settings section, if needed.
- When you've finished customizing the profile, click Create.
Next, you'll need to create a policy that defines the devices to which you'd like to automatically apply your configuration. Complete the following steps:
- Navigate to Configuration > Policies. Create a new policy or edit an existing policy.
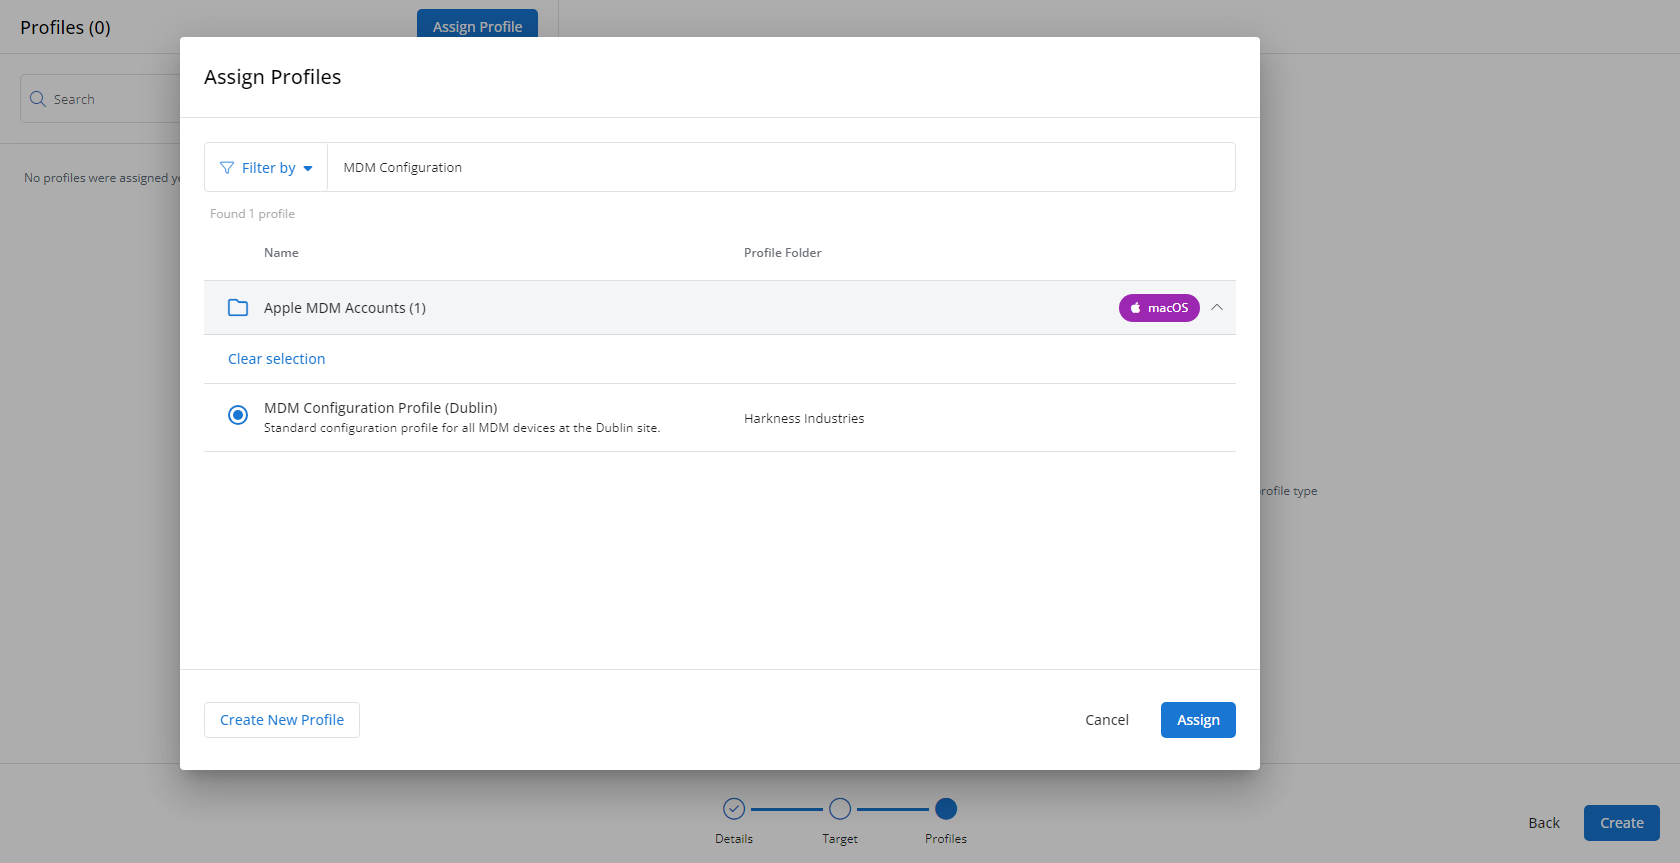
- Click Assign Profile.
- Locate the profile you'd like to use. Select it by clicking the radio button next to its name.
- Click Assign.
- VSA 10 will begin enforcing the selected profile immediately. You can view it in effect at Configuration > Policies.


