Autotask profiles
NAVIGATION Administration > Configuration > Profiles > New Profile > Autotask (Device Configuration) profile type
NAVIGATION Administration > Configuration > Policies
PERMISSIONS Administrator
Using the Autotask type of Device Configuration profile, you can enable notification forwarding to create tickets in your Autotask account.
NOTE This feature requires an Autotask account. To learn more about Autotask, reach out to your account manager.
IMPORTANT While this configuration works for forwarding tickets to Autotask, if you want a more fully fledged integration, it is recommended you follow the steps in the Autotask Integration guide rather than create Autotask device configuration profiles.
For a comprehensive overview of how profiles and policies work in VSA 10, refer to Policies overview.
Profile configuration settings
In the Account section, enter your Autotask account credentials to establish the connection between VSA 10 and Autotask .
It is recommended that you use an API user account to establish this connection. To learn more about creating an API user in Autotask, refer to Adding or editing an API user.
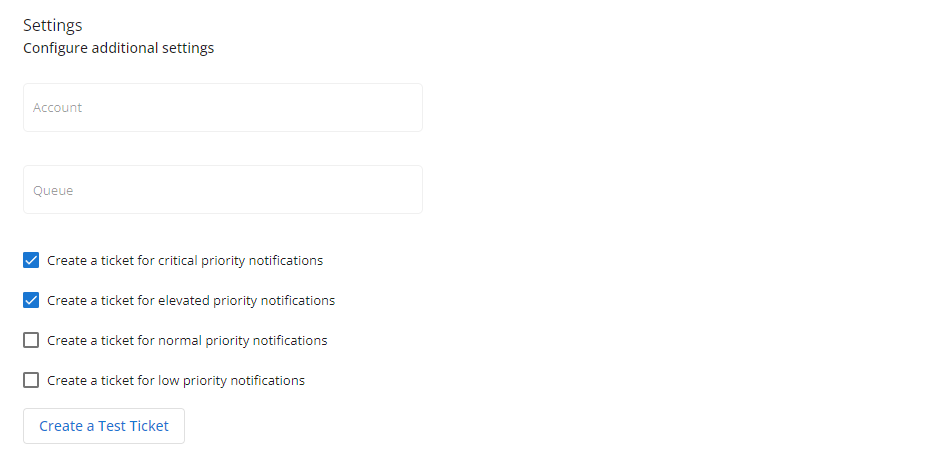
In the Settings section, enter the Account and Queue values so that Autotask knows where to create the notification tickets. Then, select which notification priorities you wish to forward to Autotask.
You can use the Create a Test Ticket button to test your configuration.
Once your settings are configured, click Create to save the profile.
How to...
To create an Autotask profile, complete the following steps:
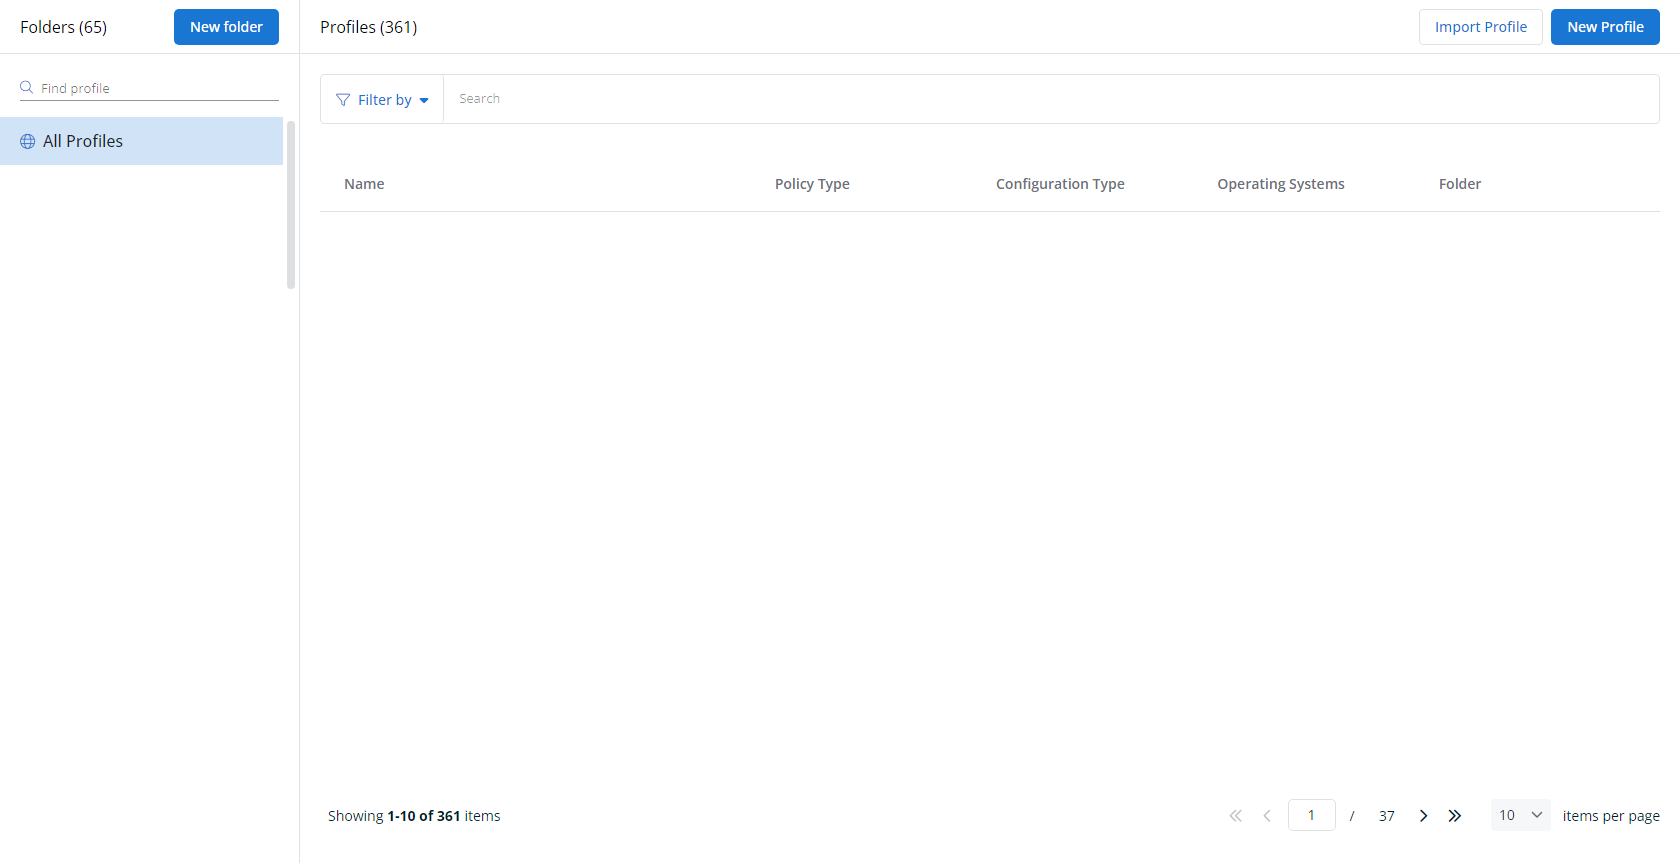
- From the left navigation menu in VSA 10, navigate to Configuration > Profiles.
- The Profiles page will load. At the top of the page, click New Profile.
-
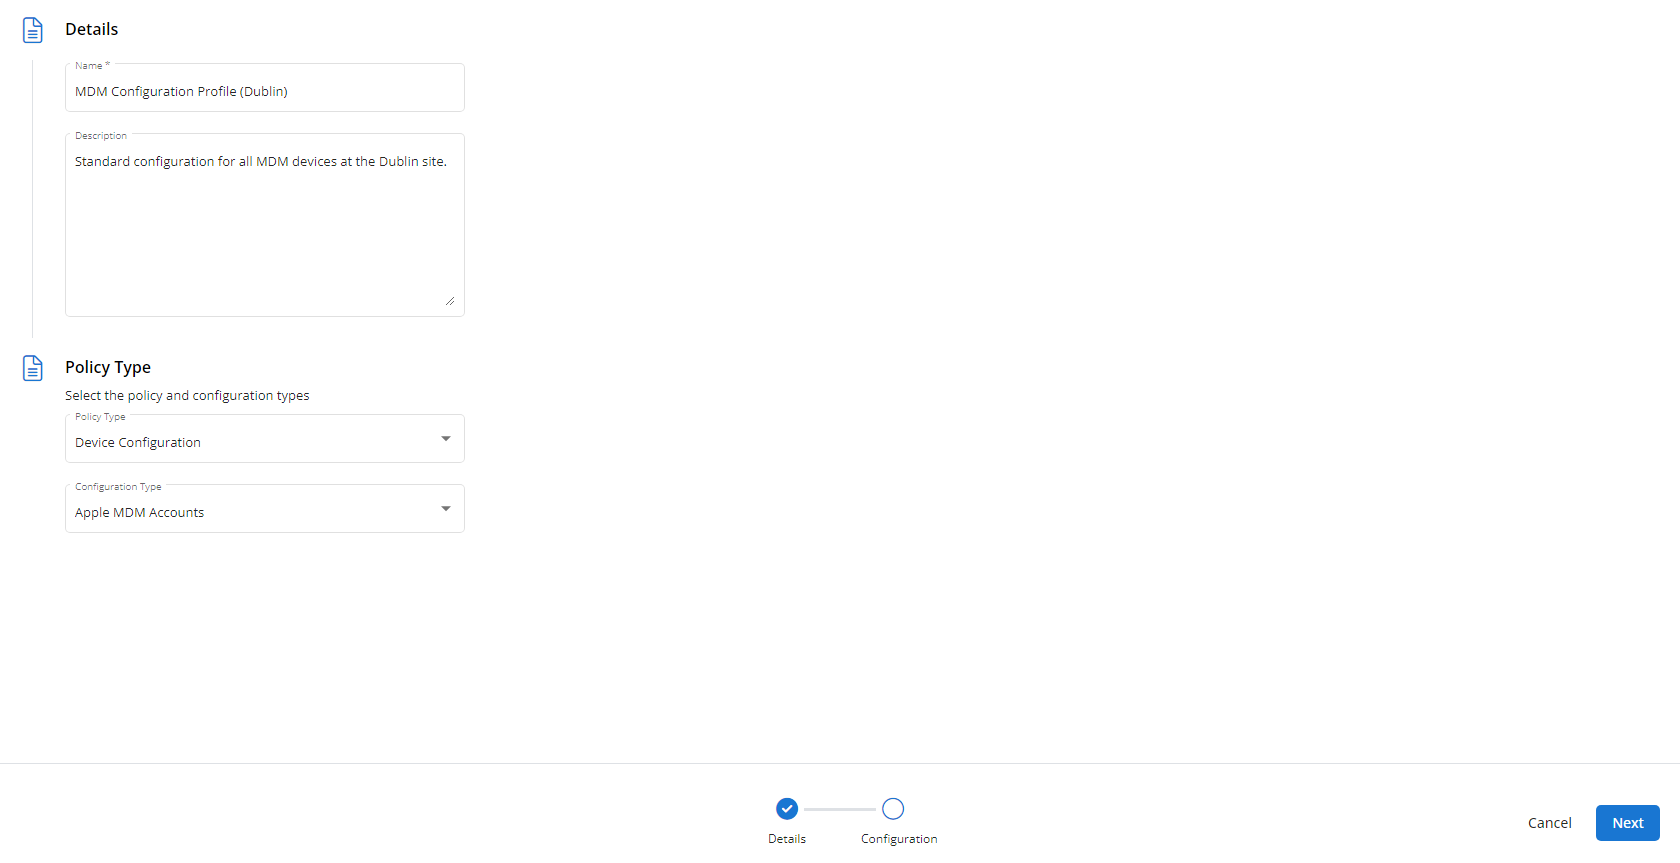
The Create New Profile page will load.
- In the Name section, enter a name for the profile.
- Optionally, enter information about the profile in the Description section.
- In the Profile Type section, select Autotask underneath Device Configuration.
- Optionally, assign relevant tags in the Content Tag section.
- Click Next.
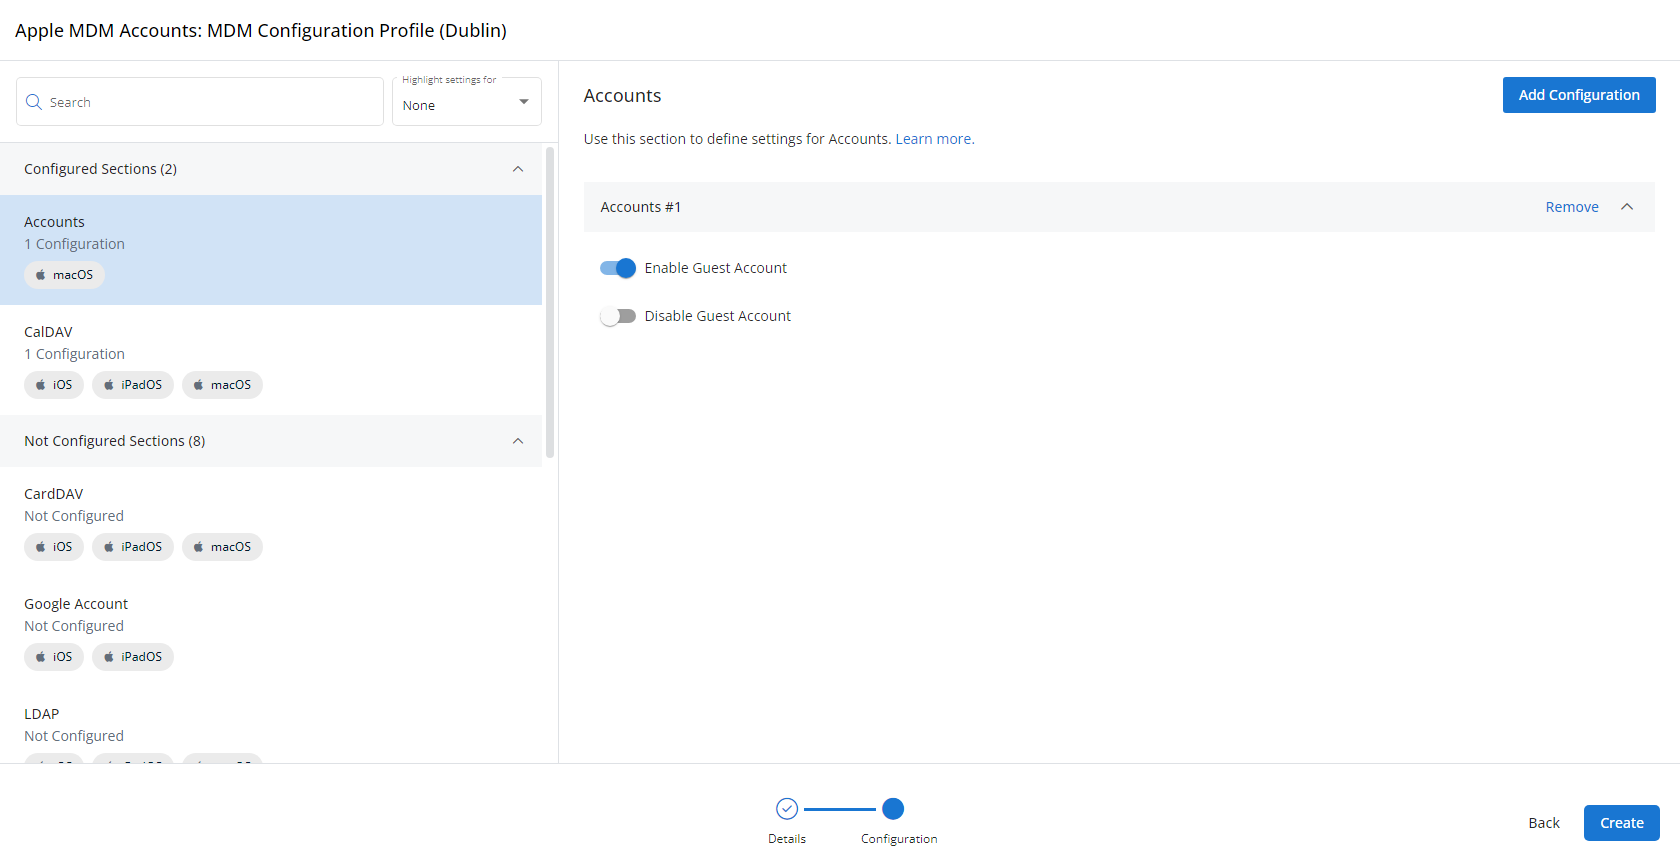
- Customize the profile to your needs. Reference the Profile configuration settings section, if needed.
- When you've finished customizing the profile, click Create.
Next, you'll need to create a policy that defines the devices to which you'd like to automatically apply your configuration. Complete the following steps:
- Navigate to Configuration > Policies. Create a new policy or edit an existing policy.
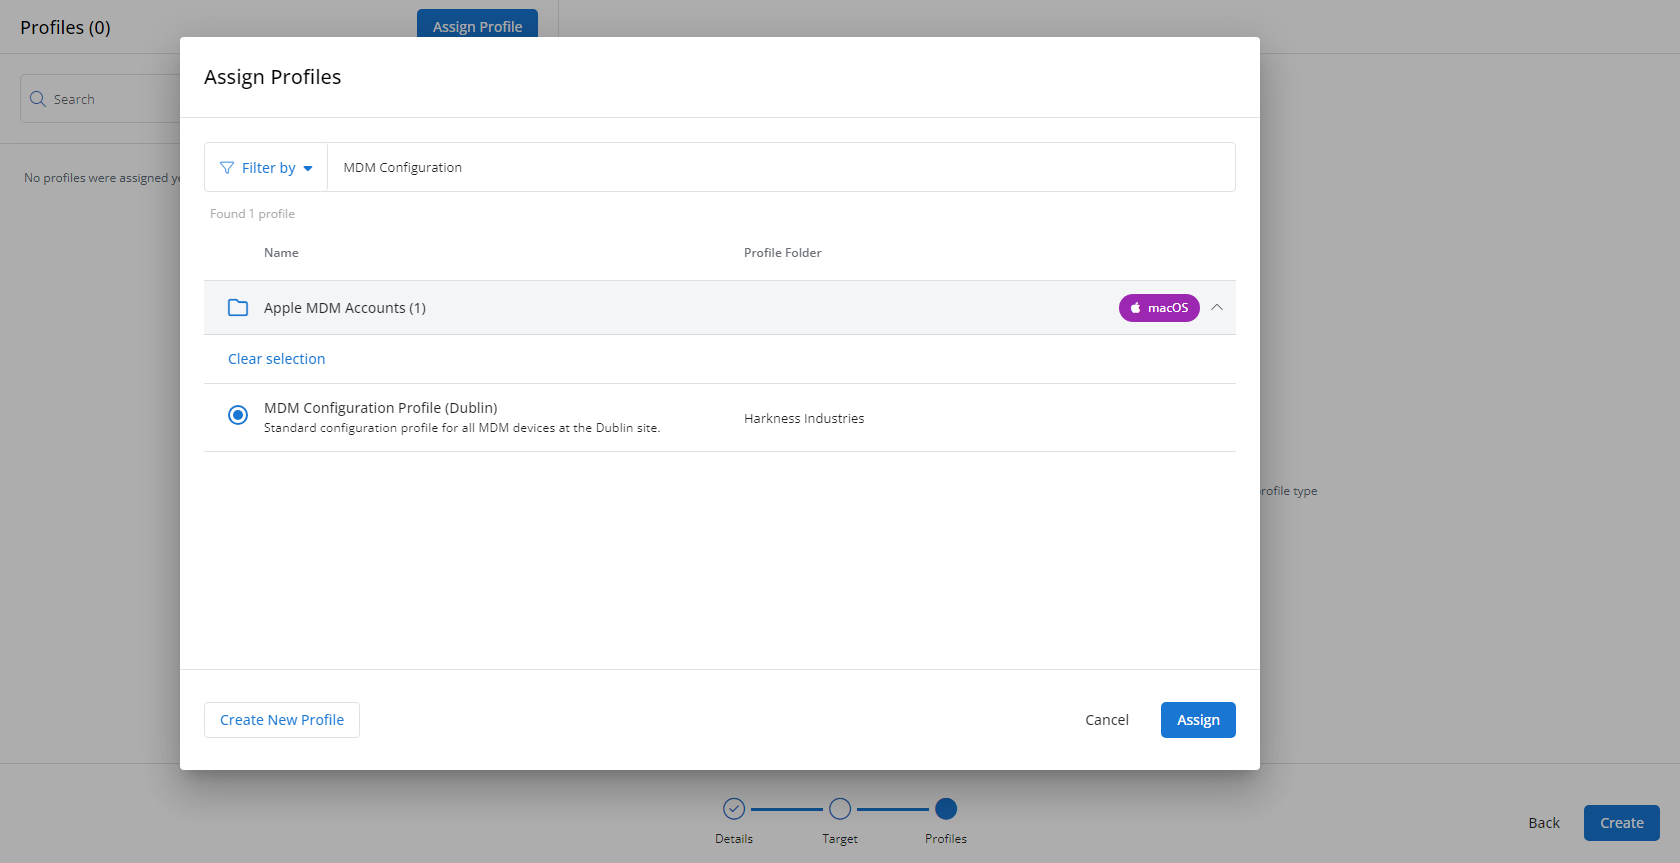
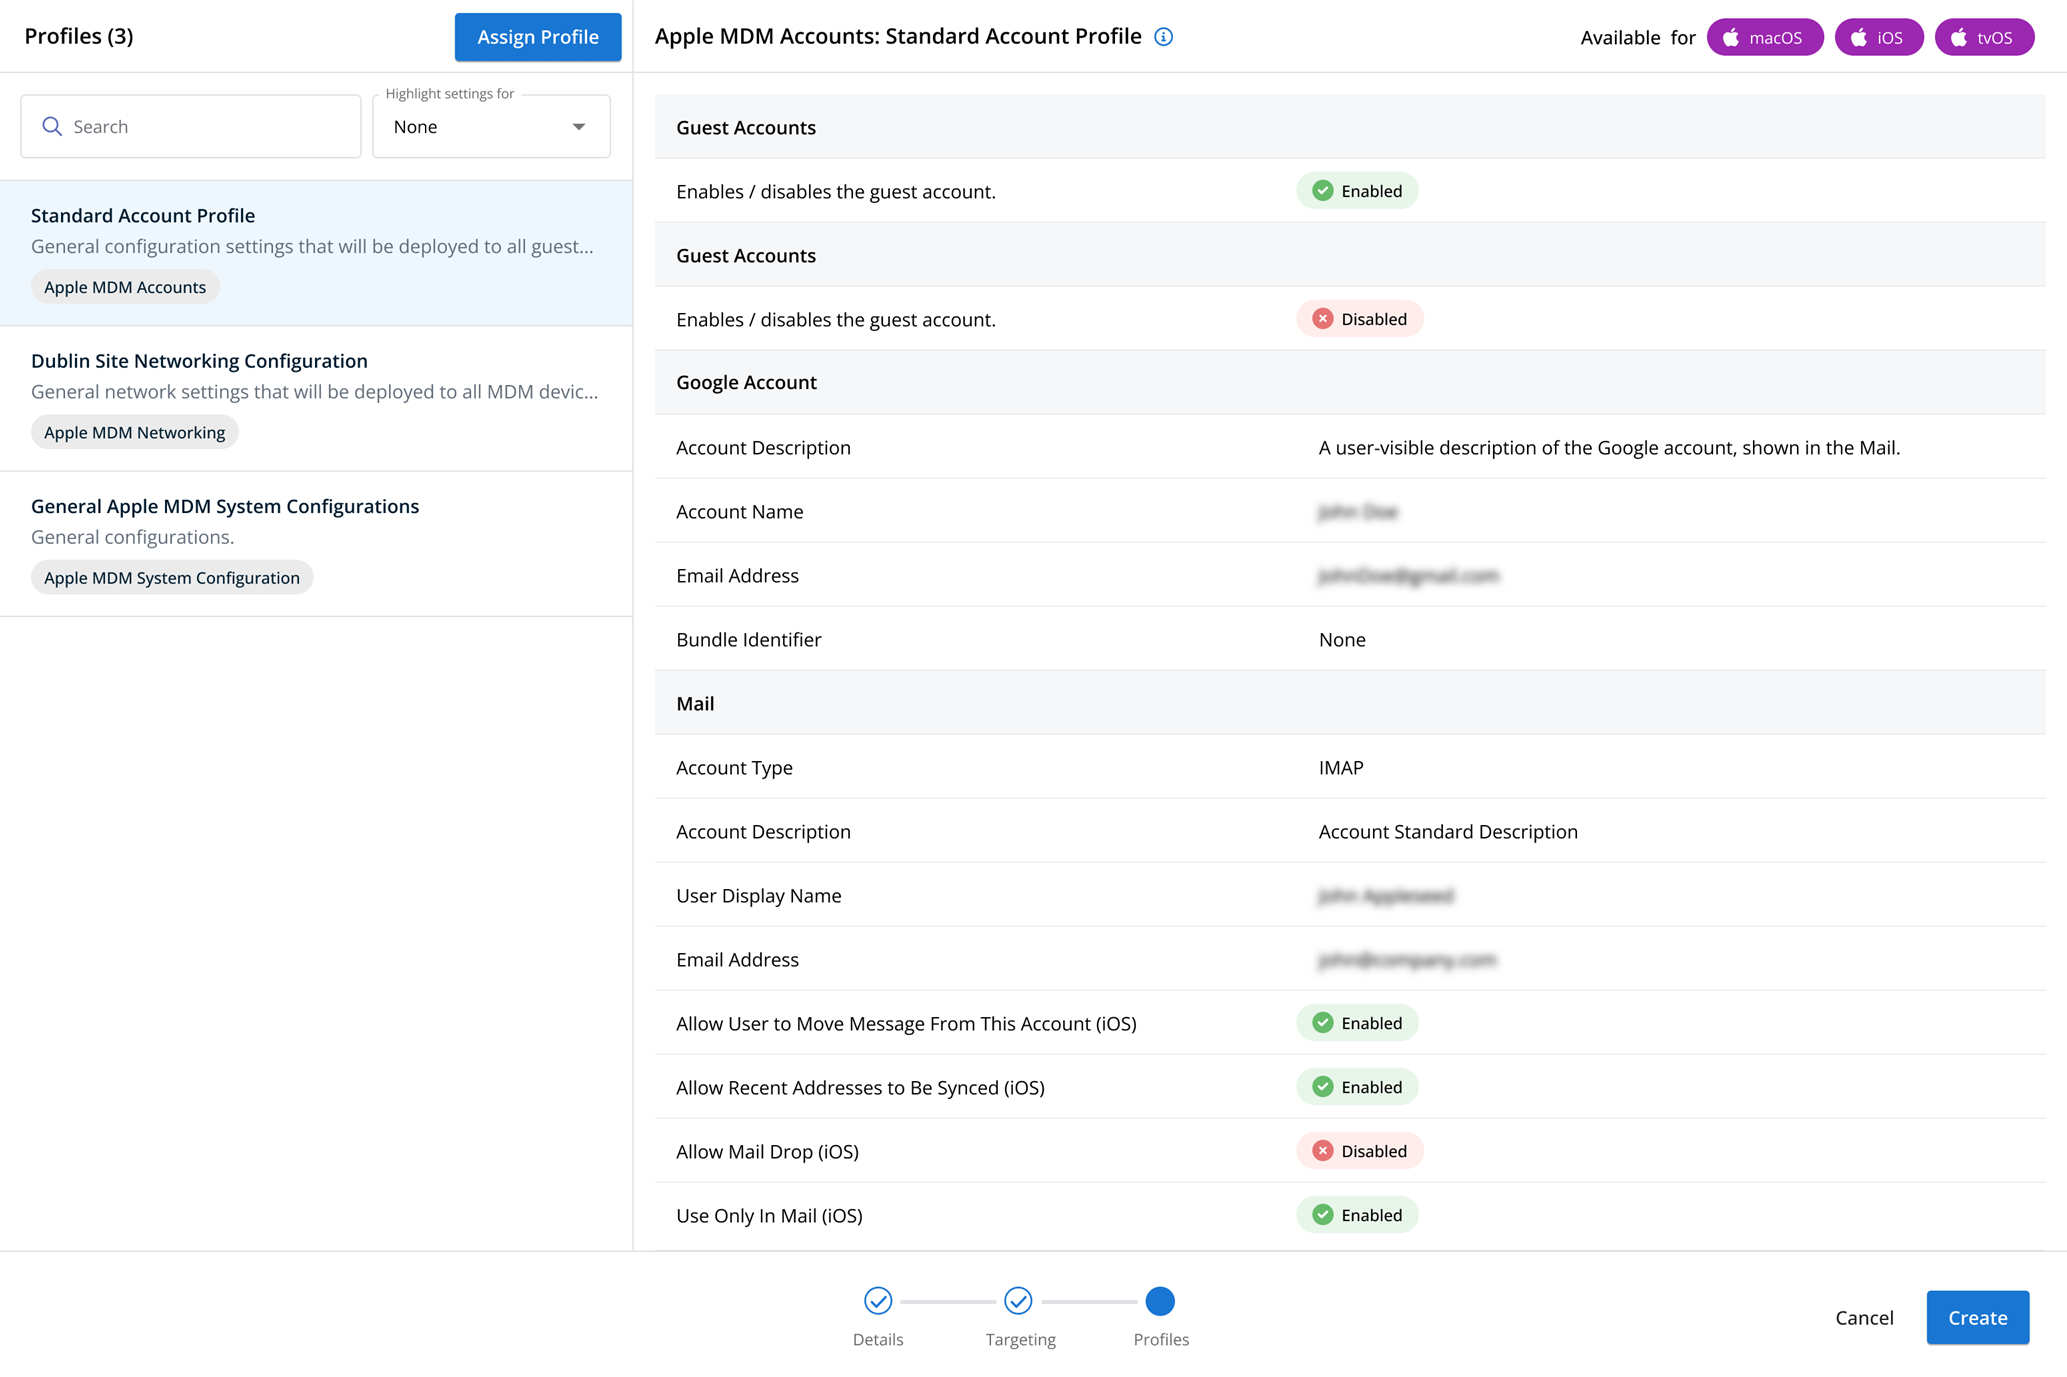
- Click Assign Profile.
- Locate the profile you'd like to use. Select it by clicking the radio button next to its name.
- Click Assign.
- VSA 10 will begin enforcing the selected profile immediately. You can view it in effect at Configuration > Policies.


