Client Portal profiles
NAVIGATION Modules > Client Portal > Profiles
PERMISSIONS All users
The Profiles page allows you to manage the personalized accounts that are created for an individual or entity for accessing a client profile. The profiles within the Client Portal contains details and preferences specific to the individual client or organization.
This article describes the process to create, edit, and manage profiles.
Profiles page
From the left navigation menu in VSA 10, navigate to Client Portal > Profiles.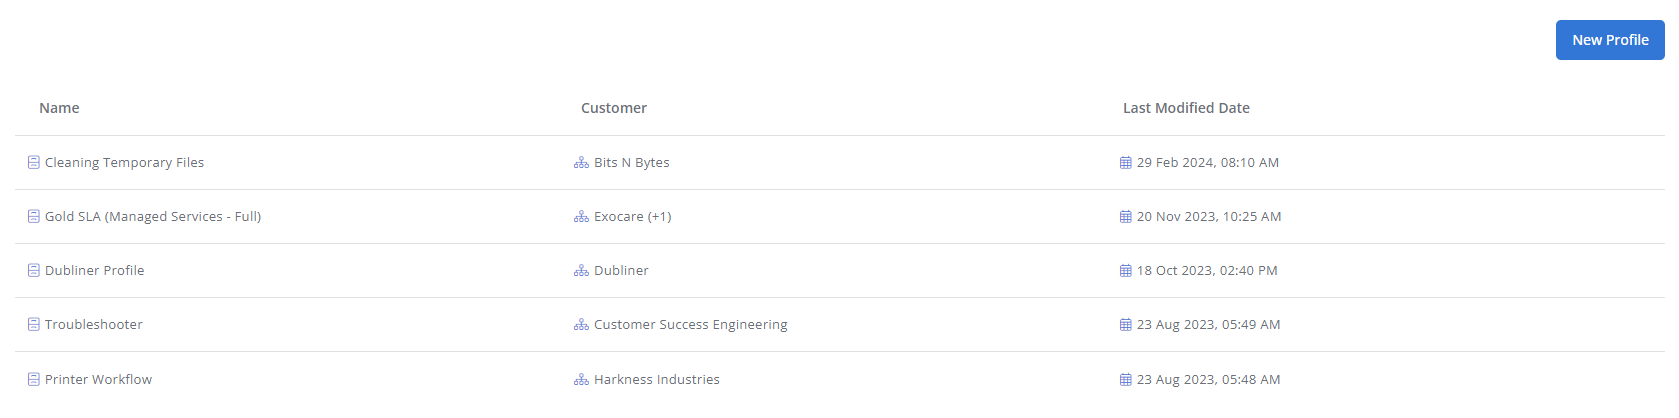
The Profiles page displays a list of all profiles in your environment, sorted by the date last modified.
Click any header to sort the displayed records in ascending or descending order by the column's value.
| Field | Description |
|---|---|
| Name | Displays the name of the profile. Refer to Name. |
| Customer | Displays the name of the organization the profile is assigned to. If more than one organization is assigned, +[number of additional organizations] is displayed. Refer to Customers. |
| Last Modified Date | Displays when the profile was last modified by a user. |
Actions
Hover over any item in the list to access its management options.
| Action | Description |
|---|---|
| New Profile | Click New Profile to add a new profile for your Client Portal. Refer to Create or edit a profile. |
|
|
The Edit icon opens the profile configuration page. Refer to Create or edit a profile. |
|
|
The Delete icon deletes the profile from the Client Portal. Refer to Delete a profile. |
How to...
To create a new profile, navigate to Client Portal > Profiles > New Profile.
To edit an existing profile, navigate to Client Portal > Profiles > hover over a profile in the list > Edit icon ![]() .
.
In the Details tab on the profile configuration page, populate or edit the following fields. Click Create to create the profile or Save to save the changes to the existing profile.
| Field | Description |
|---|---|
| Details | |
| Name | Enter a name for the profile. This field is required. |
| Customers | |
| Click Add to select the organization(s) to assign to the profile. Select the check boxes to add organizations. Click Submit to add the organizations or Cancel to close out of the dialog box. Refer to Creating organizations. | |
| Conversations | |
| Allow End Users to start new conversations | Turn on the toggle to allow end user to start new conversations in the Client Portal. Refer to Client Portal end user accounts. |
| Agent Settings | |
| Display Client Portal shortcut on the system tray | Turn on the toggle to provide Client Portal users a shortcut to the Client Portal in their system trays. |
In the Troubleshooters tab on the profile configuration page, select the radio buttons in the Include column or Exclude column to include or exclude troubleshooters to associate with the profile, respectively. Click Create to create the profile or Save to save the changes to the existing profile. Refer to Profile in Client Portal troubleshooters.
Hover over an existing profile in the list and click the Delete icon ![]() .
.
The Delete Profile dialog box is displayed.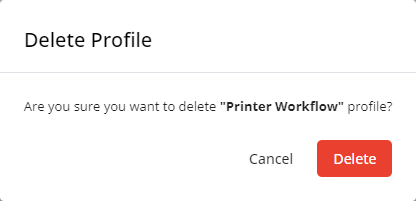
Click Delete to execute the action or Cancel to close out of the dialog box.


