Client Portal end user accounts
NAVIGATION Modules > Client Portal > End User Accounts
PERMISSIONS All users
The End User Accounts page displays the information of the end users added to your Client Portal.
This article describes the process to create, view, and manage your Client Portal end user accounts.
End User Accounts page
From the left navigation menu in VSA 10, navigate to Client Portal > End User Accounts.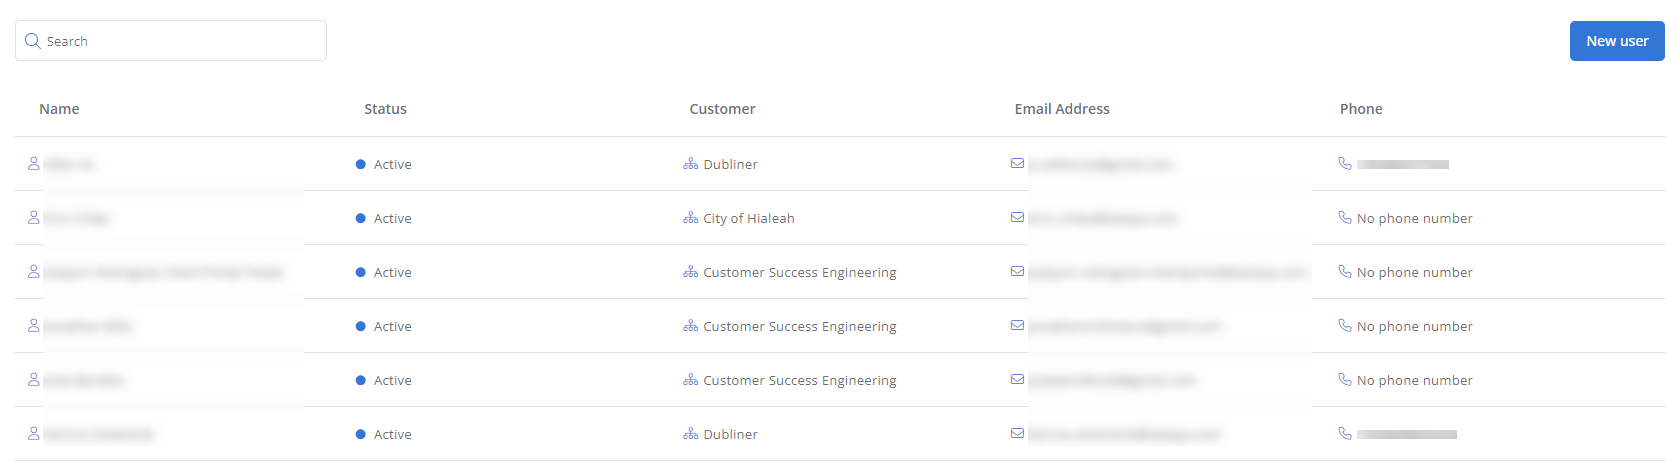
The End User Accounts page displays a list of all end users in your environment, sorted alphabetically by name.
Click any header to sort the displayed records in ascending or descending order by the column's value.
| Field | Description |
|---|---|
| Name | Displays the name of the end user. Refer to Name. |
| Status |
Displays the current status of the end user:
Refer to Allow Client Portal access. |
| 2FA | Displays the 2FA status of the end user. |
| Customer | Displays the name of the organization the end user belongs to. Refer to Customer. |
| Email Address | Displays the email address of the end user. Refer to Email. |
| Phone |
Displays the phone number of the end user. Refer to Work Phone. |
Actions
Hover over any item in the list to access its management options.
| Action | Description |
|---|---|
| Search | To search for a specific end user in the list, enter the user's name or email address. The results will be narrowed as you type. |
| New user | Click New user to add a new end user to your Client Portal. Refer to Create or edit an end user account. |
|
|
The Resend Invite icon resends the email invitation to the end user's email address. |
|
|
The Edit icon opens the end user configuration page. Refer to Create or edit an end user account. |
| The Reset Registration icon resets the end user's 2FA. Refer to Reset end user account 2FA. | |
|
|
The Delete icon deletes the end user from the Client Portal. Refer to Delete an end user account. |
How to...
To create a new end user, navigate to Client Portal > End User Accounts > New user.
To edit an existing end user, navigate to Client Portal > End User Accounts > hover over a user in the list > Edit icon ![]() .
.
On the end user configuration page, populate or edit the following fields. Click Create to create the user or Save to save the changes to the existing user.
| Field | Description |
|---|---|
| Details | |
| Name | Enter the end user's first name. |
| Last Name | Enter the end user's last name. |
| Enter the end user's email address to which the email invitation will be sent. This field is required. | |
| Work Phone | Enter the end user's work phone number. |
| Mobile Phone | Enter the end user's mobile phone number. |
| Department / Role | Enter the end user's department or role at their company. |
| Context | |
| Customer | From the drop-down menu, select the organization the end user belongs to. Refer to Creating organizations. This field is required. |
| Site | From the drop-down menu, select the site the end user belongs to. The list is filtered by the selected organization. Refer to Creating sites. |
| Devices | |
| Click Add to select the registered device(s) to assign to the end user. The list of available devices is filtered by the selected organization and, if a site is selected, by that site. Select the check boxes to add devices. Click Submit to add the devices or Cancel to close out of the dialog box. | |
| User Access | |
| Allow Client Portal access | Turn on the toggle to grant this end user account access to the Client Portal. |
|
Turn on the toggle to grant this end user account access to remotely control their assigned devices.
|
|
To delete an end user account, hover over an existing end user in the list and click the Delete icon ![]() .
.
The Delete End User Account dialog box will be displayed.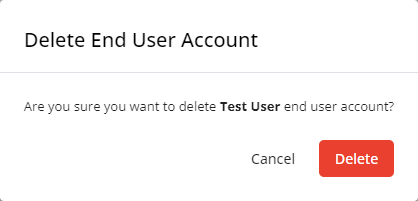
Click Delete to delete the end user's account, or Cancel to close out of the dialog box.
To resend the Client Portal invite email to an end user, hover over an existing end user in the list and click the Resend Invite icon ![]() .
.
The Resend Invite dialog box will be displayed.
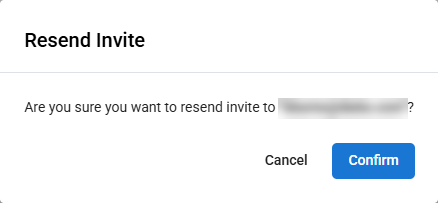
Click Confirm to resend the invite email to the end user, or Cancel to close out of the dialog box.
To reset a Client Portal user's 2FA, hover over an existing end user in the list and click the Reset Registration icon ![]() .
.
The Reset Registration dialog box will be displayed.
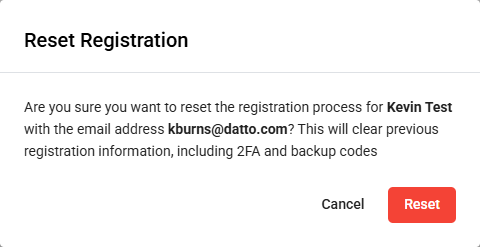
Click Confirm to reset the user's 2FA. This will send the user an email letting them know that their 2FA settings have been reset, and that they will need to reconfigure them upon their next login. Click Cancel to close out of the dialog box.


