Installing the VSA 10 agent on a Windows device
NAVIGATION Modules > Devices > Discovery & Deployment
PERMISSIONS Device Management > Add Devices
This article describes the process to manually download and install the VSA 10 Agent on a Windows endpoint. To learn how to mass-deploy the VSA agent to multiple endpoints, refer to Discovering and deploying devices.
Prerequisites
Before you install the VSA agent, ensure that you review the following requirements:
- Your endpoint must have the Microsoft .NET Framework (version 4.0 or higher) installed.
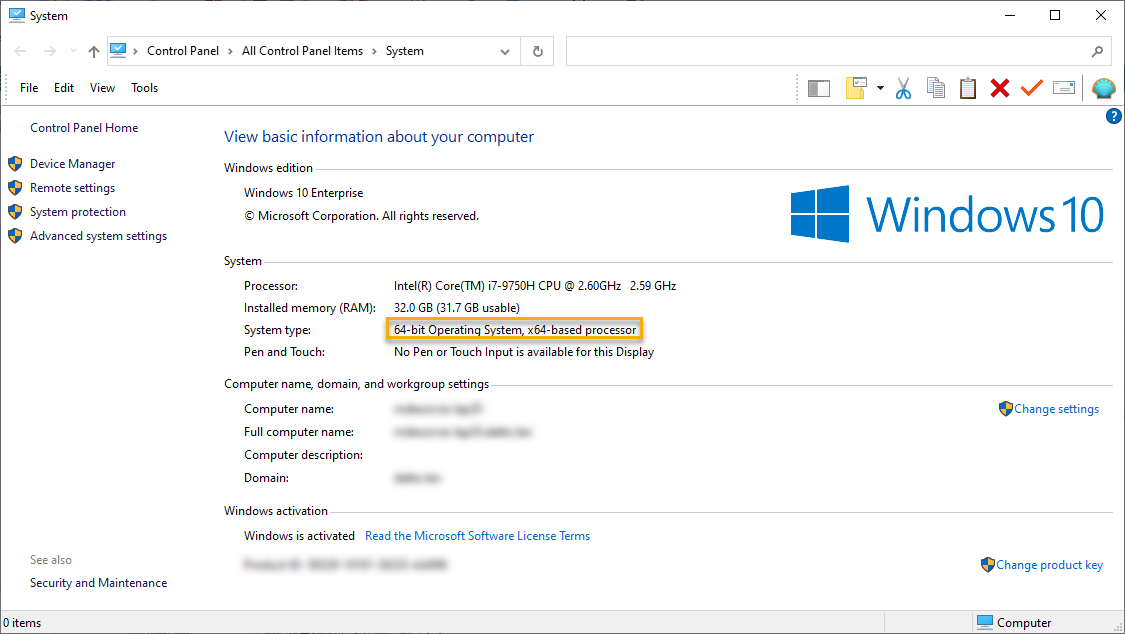
- You'll also need to know whether the target device is using 32-bit or 64-bit architecture. You can locate this information in the System area of the Windows Control Panel.
How to...
To download the VSA 10 Agent, perform the following steps:
-
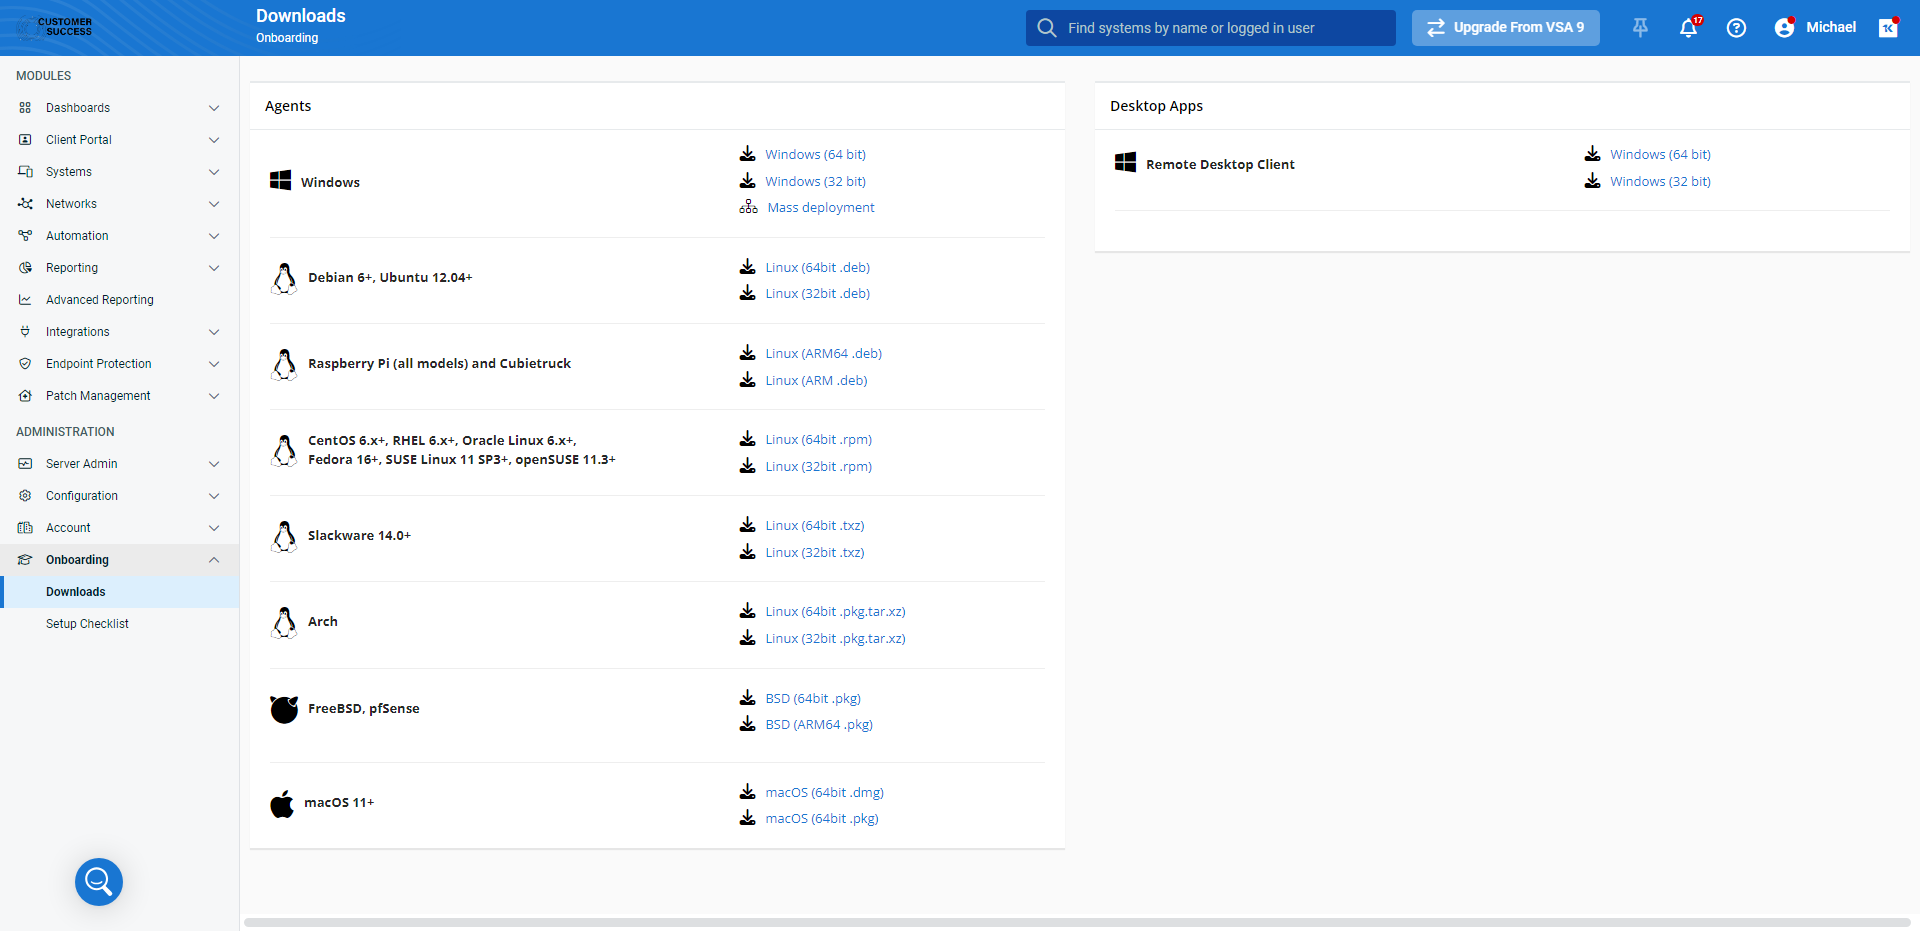
From the left navigation menu, navigate to Onboarding > Downloads.
-
Click the download link for the installer that matches your endpoint's operating system.
-
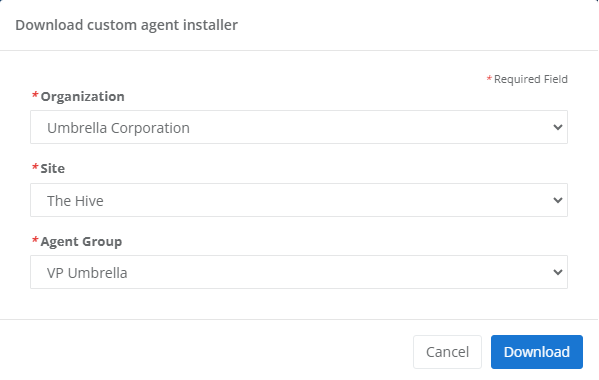
Depending on the device type, you may be prompted to select the Organization, Site, and Agent Group with which the download corresponds. These values are required for VSA 10 to build the installer. When ready, click Download.
-
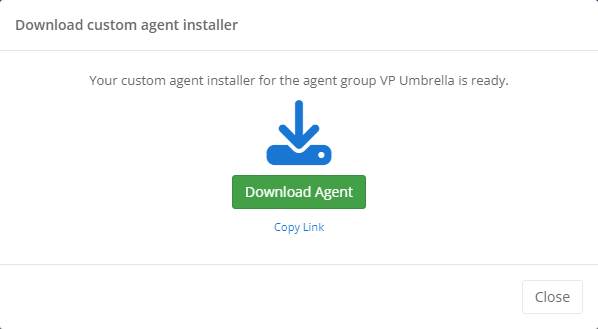
Once the agent installer has compiled, you can download it to your current computer, or you can copy the link to share with customers or technicians via email.
Once you've downloaded the agent to the desired endpoint, you can either run the installer from the Windows desktop as an Administrator, or, you can use msiexec to perform a silent installation.
If you prefer a silent install, perform the following steps:
- Launch the Windows Command Prompt as an Administrator.
-
Enter the command:
msiexec /i "path_to_msi_file" /qn.Replace path_to_msi_file with the full local path to the installation package, including its file extension, that you downloaded in the previous section of this article.
- The installer will run and deploy the agent.
NOTE If you need to run the agent installer with other options, you can see what options are available by opening a command prompt and running the command:
"path_to_msi_file" /?
In addition to the installer options, the following switches can also be added to the end of the install command:
- ALLUSERS=1: Forces the agent to install for all users.
- NOSHORTCUTS=1: Omits the VSA X Manager desktop icon from the install process.
EXAMPLE msiexec /i "path_to_msi_file" /qn NOSHORTCUTS=1
To remove the VSA 10 Agent from a Windows device, perform the following steps:
- From the Windows desktop of the device, open the Start menu.
-
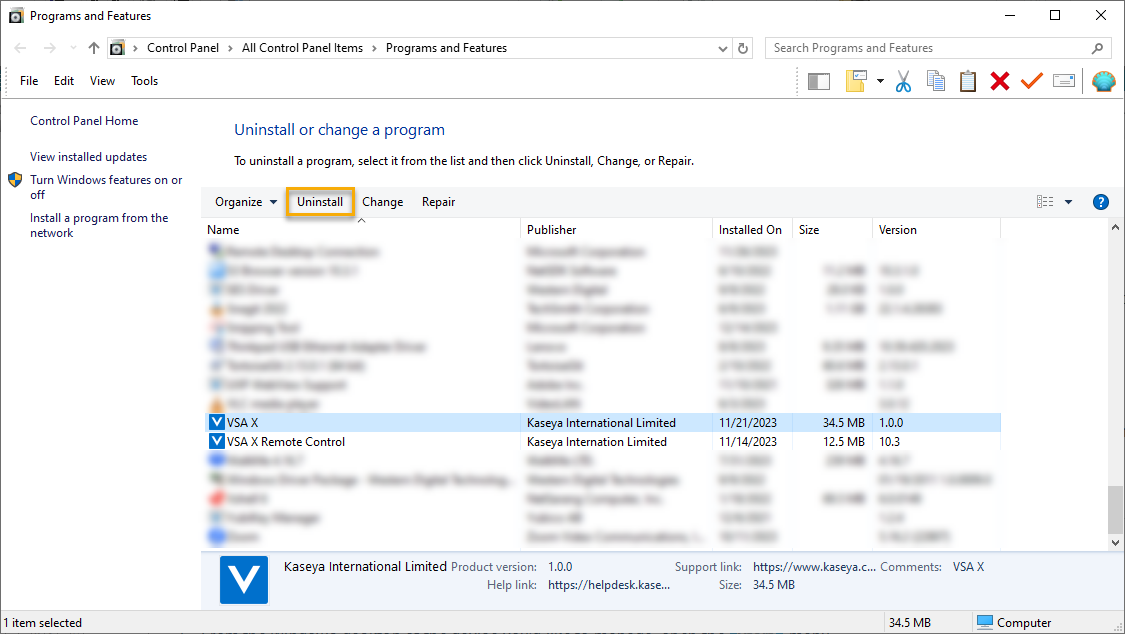
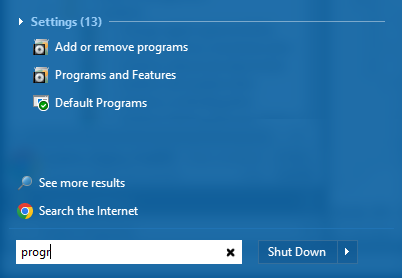
Navigate to Control Panel > Programs and Features. Alternatively, you can search for "programs" in the Start menu's search box and click the result.
- In the Programs and Features menu, locate and select VSA X.
- Click Uninstall. Follow any prompts you receive to remove the agent.
- Once the agent uninstall process completes, repeat steps 3 and 4 for any remaining VSA components, such as VSA X Remote Control.
- When you've finished the removal process, reboot the Windows device to finalize the uninstall.
