Uploading files
NAVIGATION Modules > Automation > Automation Hub
PERMISSIONS Automation > View Tasks & Scripts
PERMISSIONS Automation > Edit Tasks & Scripts
VSA 10 has the ability to centrally and securely store and distribute files to devices.
You can upload files to the VSA 10 web application and use the Write File workflow action for common automation tasks such as custom applications installers, font configuration files distribution, and printer drivers. Files are encrypted at rest and in transit, decrypted by the device.
This article describes the process to upload files and use them in the workflows automation.
Overview
Managed files can be accessed in the Automation Hub.
From the left navigation menu in VSA 10, navigate to Automation > Automation Hub.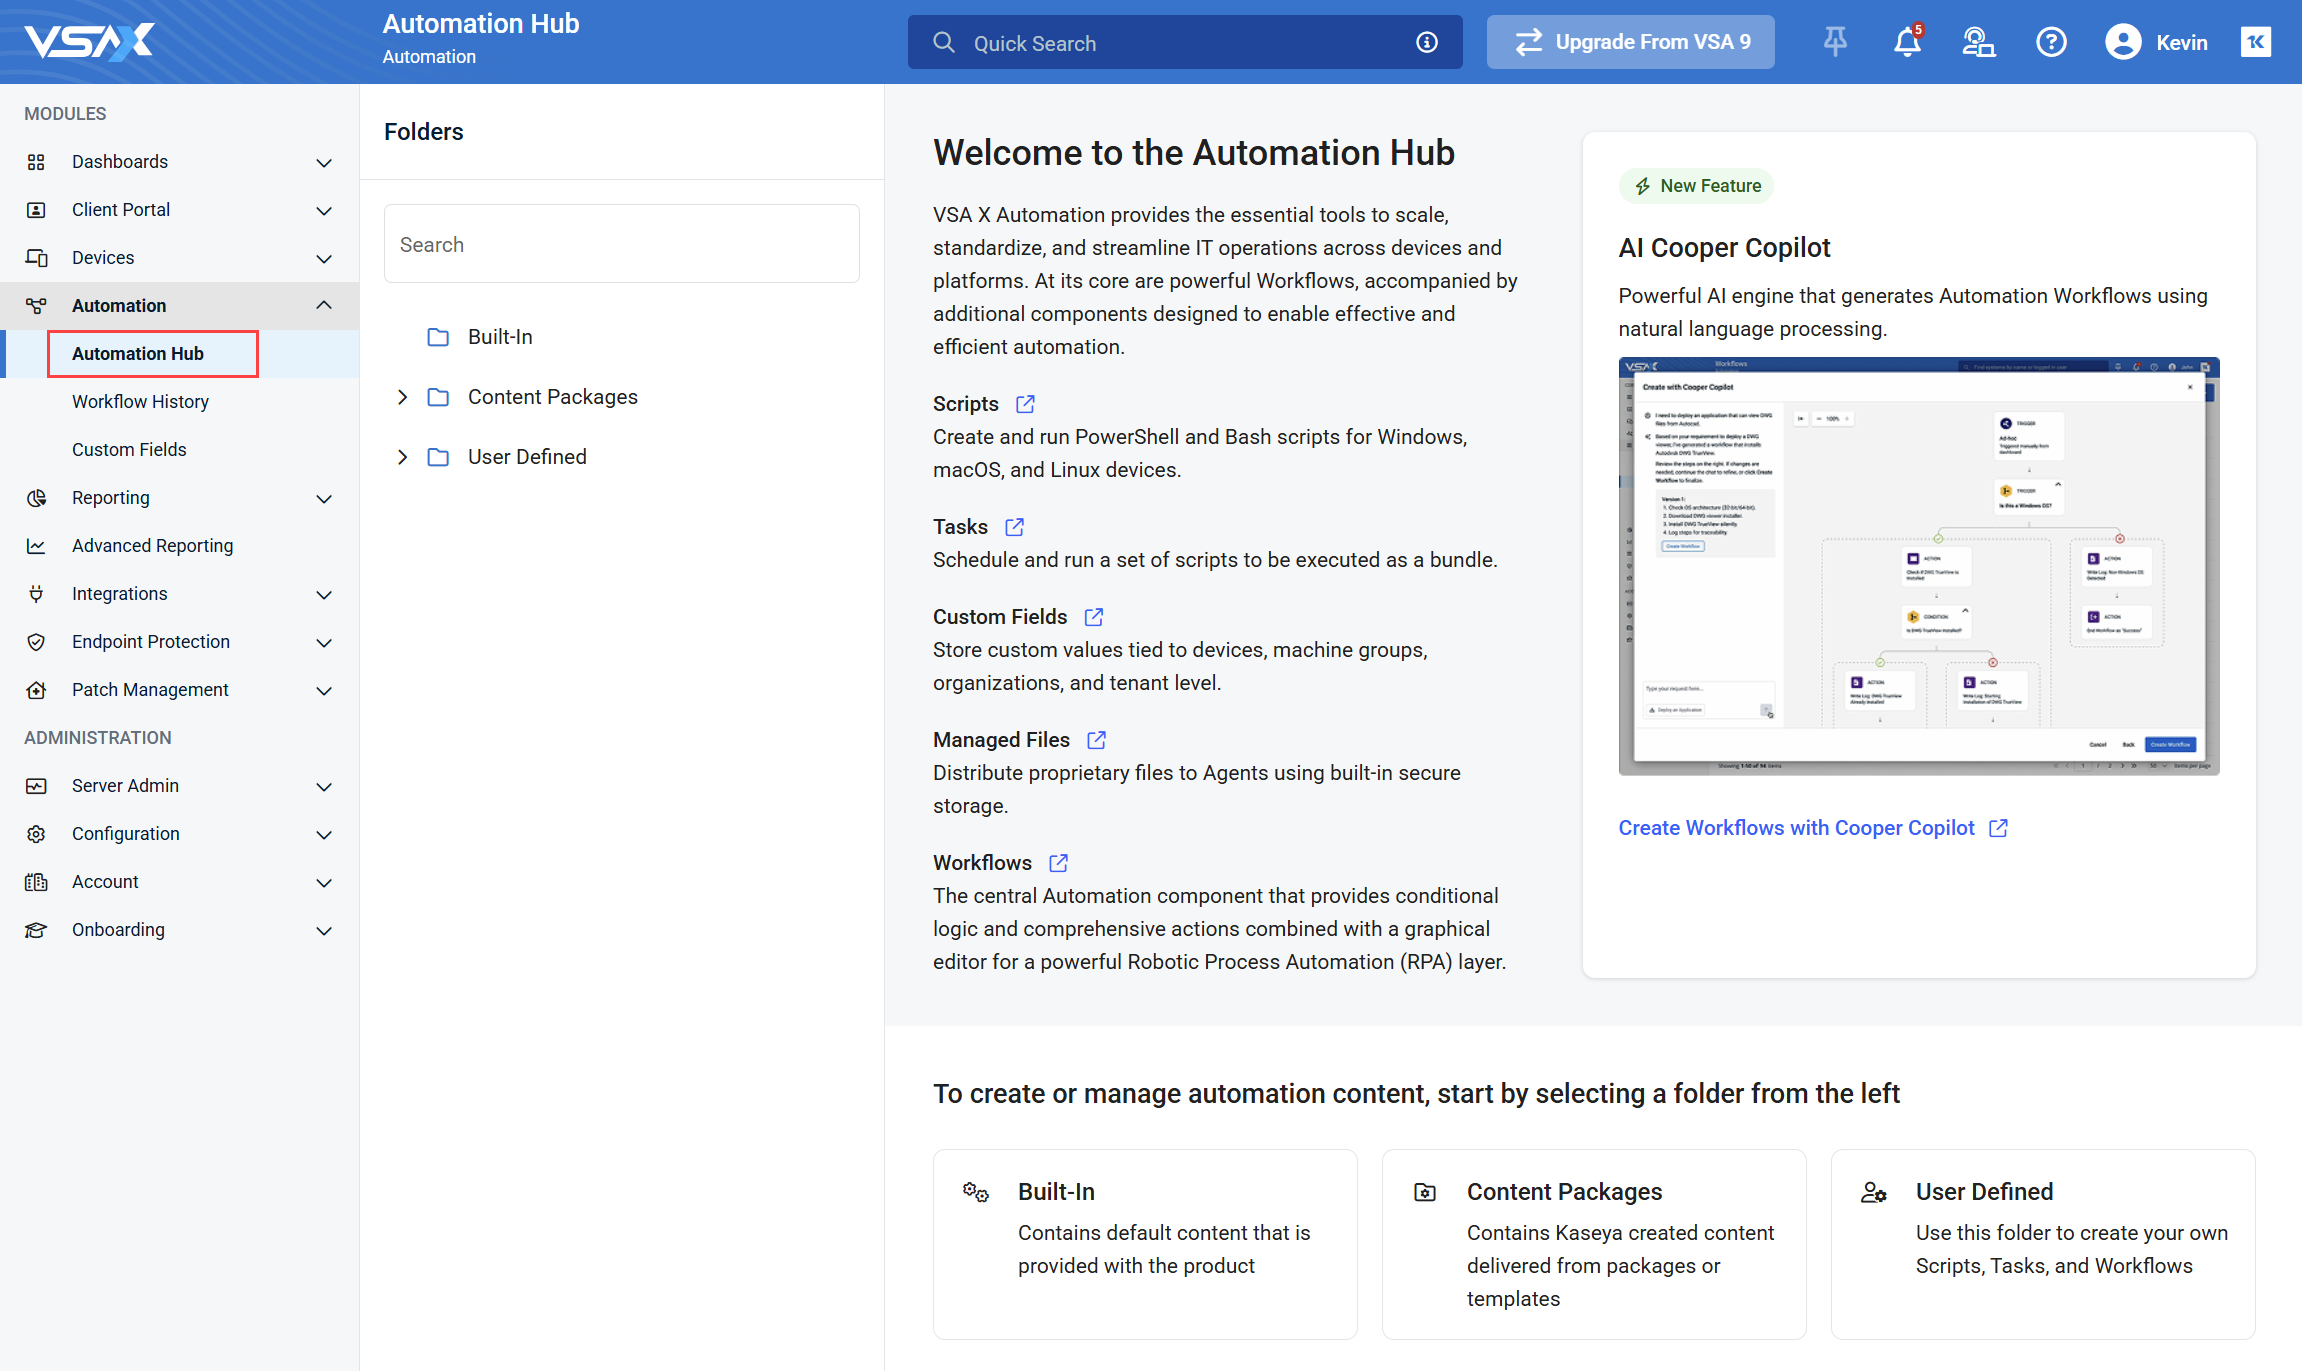
The Automation Hub contains all scripts, tasks, workflows, and managed files in one location, and organized into three folders:
- Built-In (read-only): Contains default content that is provided with the product.
- Content Packages (read-only): Contains Kaseya created content delivered from packages or templates.
- User Defined: Contains custom content created by product users.
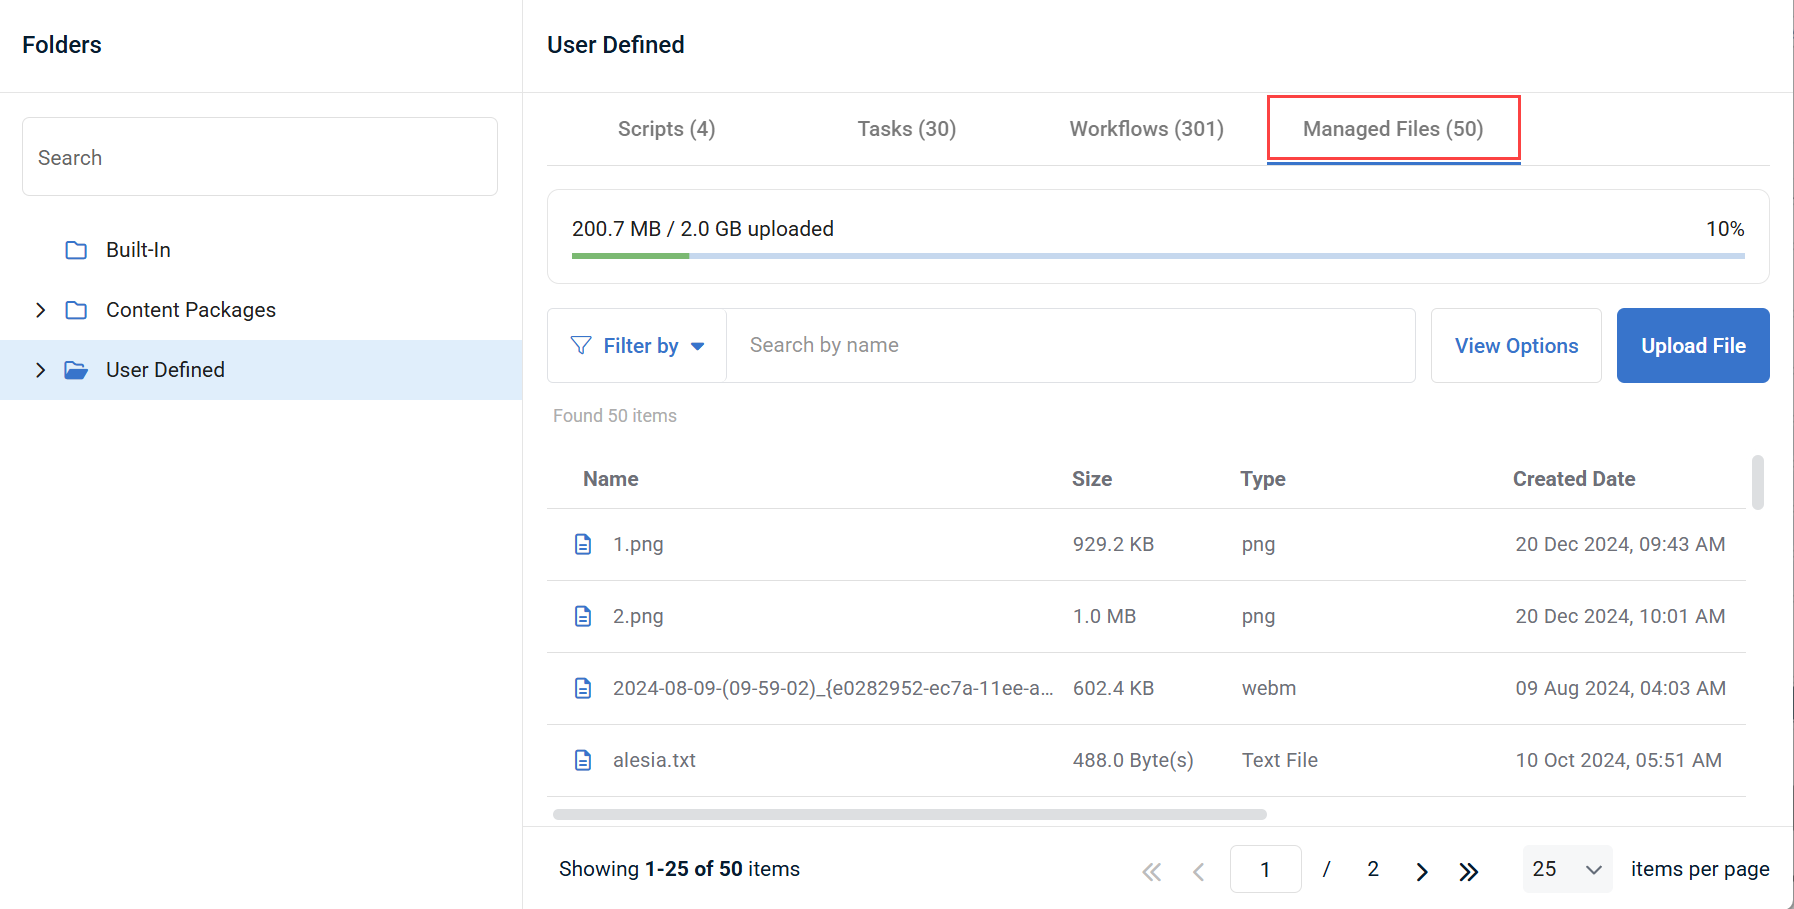
To access managed files in the Automation Hub, click a folder to view it's contents, and select the Managed Files tab to show all managed files within that folder. You can also use the Search function to search for a managed file by name.
For more information on the Automation Hub, including folder management, refer to Navigating the Automation Hub.
Navigating the Managed Files tab
Click any header to sort the displayed records in ascending or descending order by the column's value.
| Field | Description |
|---|---|
| Name | Displays the name of the uploaded file. |
| Size | Displays the file size of the uploaded file. |
| Type | Displays the file format of the uploaded file. |
| Created Date | Displays the date the file was first uploaded. |
| Created By | Displays the name of the user that uploaded the file. |
| Last Modified Date | Displays when the upload was last modified by a user. |
| Last Modified By | Displays the name of the user that last modified the file. |
Hover over any item in the list to access its management options.
| Action | Description |
|---|---|
| Move the file to a different location within the User Defined folder. | |
| Create a copy of the file and choose where you want to save the copy within the User Defined folder. | |
|
|
Download the uploaded file to your device. |
|
|
Delete the uploaded file. |
How to...
NOTE Files can only be uploaded to the User Defined folder and it's subfolders.
- Navigate to Automation > Automation Hub and select a location within the User Defined folder to upload the files to.
- Click the Managed Files tab.
- Click Upload File. From your device, select the saved file to be uploaded.
NOTE The maximum file size that can be uploaded is 500 MB for cloud VSA customers and 2 GB for on-premises customers.
- Once selected, the file is successfully uploaded and stored in VSA 10.
If a file with the same name as an existing managed file is uploaded, you will be prompted to choose whether the old file will be overwritten with the new file, or keep both files by renaming the new file.
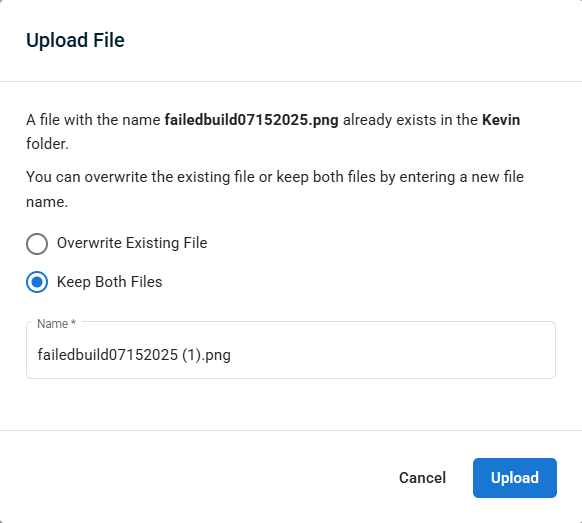
IMPORTANT If you overwrite a file that is referenced in a Write File action of a workflow, that action will be automatically updated to use the newly uploaded file for future executions.


