VSA 10 MDM: Migrating from another MDM solution
Users can enroll devices into an MDM solution using three methods:
- Automated Device Enrollment (Apple devices only)
- Device Enrollment
- User Enrollment
When migrating from one MDM solution to another, the process varies slightly for each method. VSA 10 supports Automated Device Enrollment and Device Enrollment. Refer to Device Enrollment vs. Automated Device Enrollment (ADE). This article describes how to re-enroll a device using either of those methods.
Automated Device Re-enrollment
Automated Device Enrollment is intended for organization-owned devices.
NOTE Automated device re-enrollment is available for Apple devices only.
iPhone and iPad
IMPORTANT Devices on iOS 26 or iPadOS 26 or newer can migrate their Apple Business Manager (ABM) or Apple School Manager (ASM) enrolled devices to a new MDM server without requiring a full device wipe and re-enrollment. Refer to Migrate MDM enrolled devices without wiping data.
The device must be erased and go through the iOS Setup Assistant process to re-enroll. Ensure the MDM server is assigned in Apple School Manager or Apple Business Manager before erasing the device, as this will delete all data. Users should back up important files before proceeding.
macOS computers
IMPORTANT Devices on macOS 26 or newer can migrate their Apple Business Manager (ABM) or Apple School Manager (ASM) enrolled devices to a new MDM server without requiring a full device wipe and re-enrollment. Refer to Migrate MDM enrolled devices without wiping data.
If the Mac is listed in Apple School Manager or Apple Business Manager, use the following command to re-enroll it into the new MDM solution:
sudo profiles renew -type enrollment
After re-enrollment, the Mac will be supervised.
This non-destructive MDM migration process was introduced by Apple for devices running iOS 26, iPadOS 26, and macOS 26. This feature allows administrators to move devices enrolled in Apple Business Manager (ABM) or Apple School Manager (ASM) from one MDM server to another without requiring a full device wipe and re-enrollment. This eliminates the significant downtime and user disruption historically associated with MDM migrations.
Prerequisites
Before initiation a migration with this method, ensure the following prerequisites are met:
| Prerequisite | Details |
|---|---|
| OS Version | Devices must be running iOS 26, iPadOS 26, or MacOS 26 or newer. |
| Enrollment Type | Devices must be enrolled via Automated Device Enrollment (ADE) in ABM or ASM. |
| iOS/iPadOS State | Devices must still be managed by the original MDM service assigned during their initial ADE enrollment. If a device was manually unenrolled and re-enrolled, it is ineligible. |
| Apple Configurator | Devices added via Apple Configurator are eligible only after their 30-day provisional period has expired. |
| ABM/ASM Role | The administrator performing the migration must have the Administrator or Device Enrollment Manager role in ABM or ASM. |
| Destination MDM Setup | The destination MDM must be fully configured with all necessary profiles, policies, scripts, and app assignments before migration begins. |
| Apps and Books | The Apps and Books (formerly VPP) token must be transferred from the old MDM to the new one. |
How to perform the migration
Phase 1: Preparation
- Audit your current MDM: Document all existing configurations in the source MDM, including Wi-Fi profiles, VPN settings, certificates, compliance policies, security baselines (for example, FileVault), and deployed applications. This documentation will serve as the blueprint for the new environment.
- Configure the destination MDM: Replicate the documented configurations in the new destination MDM solution.
- Create all necessary MDM profiles and policies in VSA 10. Refer to VSA 10 MDM: MDM profiles.
- Add all necessary application assignments using MDM Applications profile. Refer to Apple MDM Applications profile.
- Conduct pilot testing: Enroll a small group of test devices directly into the new MDM to validate that all configurations, policies, and app deployments work as expected.
- Develop a communication plan: Prepare clear communications for end-users explaining the upcoming change, the deadline, and the specific actions they will need to take. Tailor the messaging for iOS and macOS users, as their experiences will differ significantly.
Phase 2: Initiating the Migration
- Log in to ABM/ASM: Sign in with an account that has Administrator or Device Enrollment Manager permissions.
- Select devices to migrate: Navigate to the Devices section and select the device or group of devices to be migrated.
- Reassign device management: Use the Assign Device Management function to change the assigned MDM server from the current one to the new destination server.
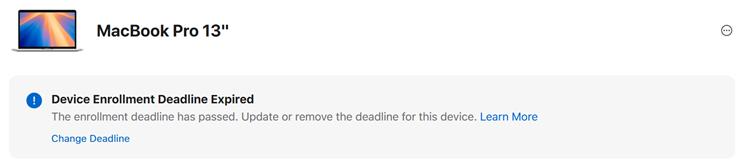
- Set the migration deadline: A new option, Add deadline, will appear. Set a specific date and time for the migration to be enforced. The deadline must be between one and 90 days in the future.
IMPORTANT If no deadline is set, the migration will only occur if the device is erased or a manual re-enrollment command is run.

Phase 3: Finishing the migration on user devices
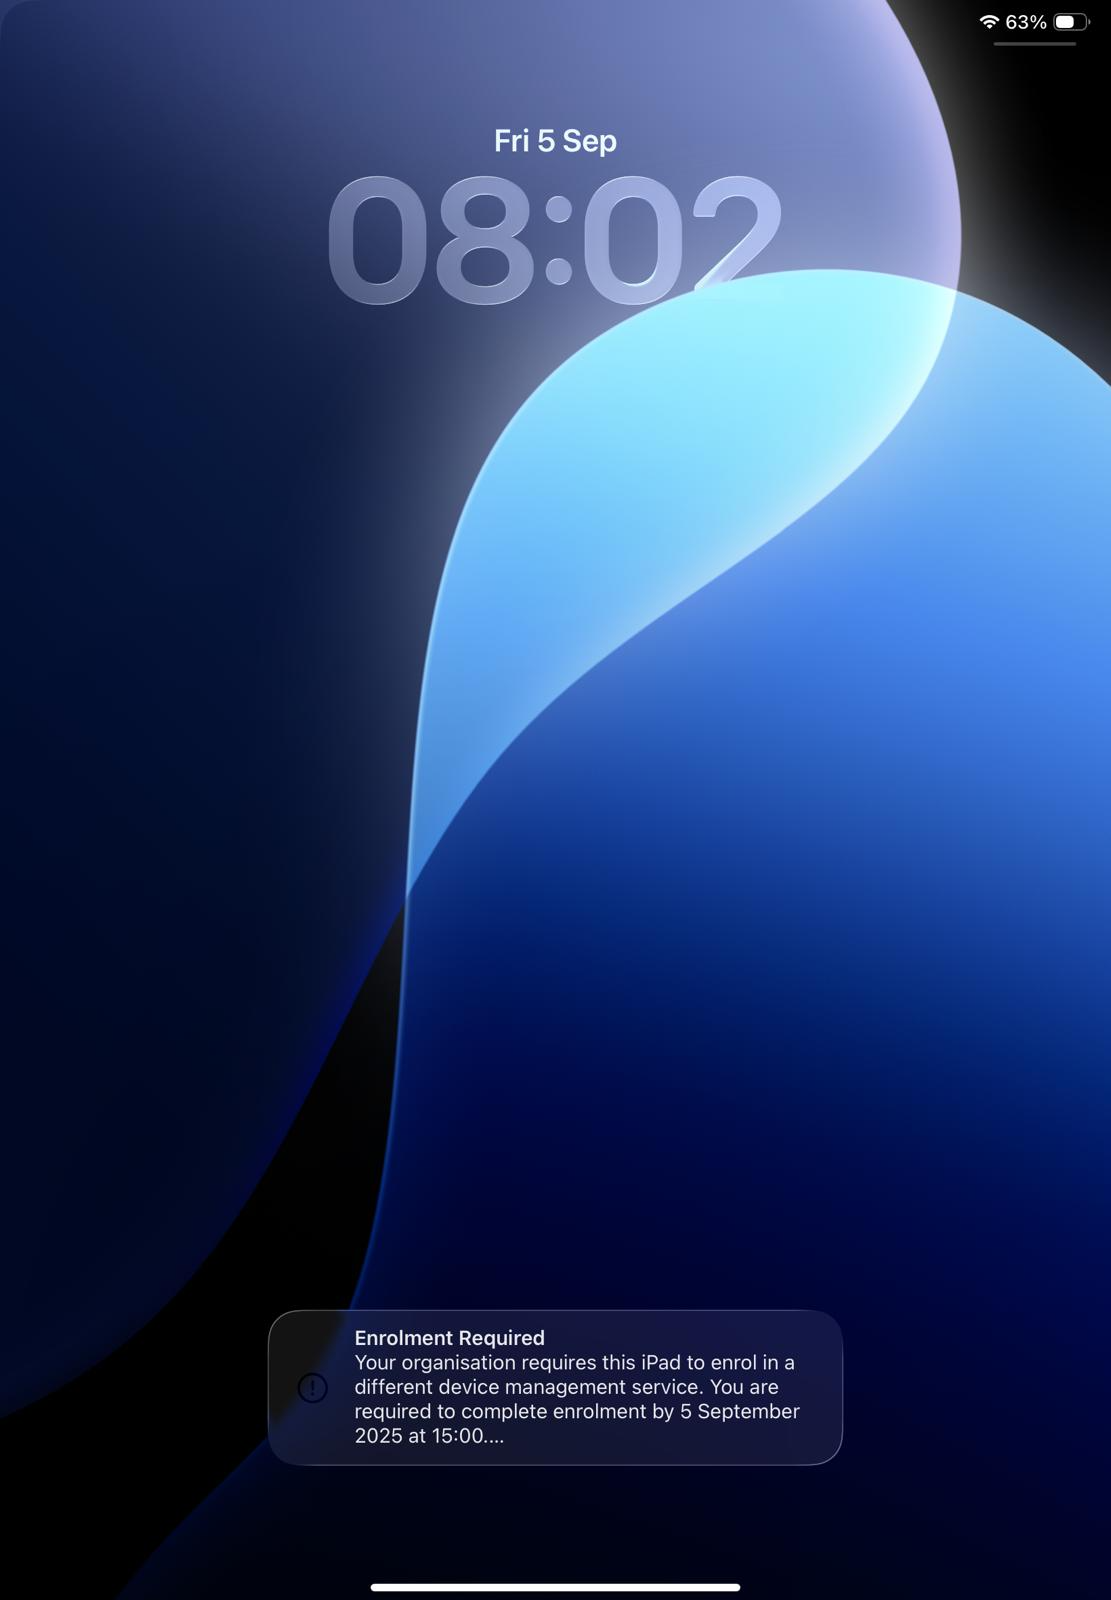
Once you've initiated the migration by following the steps in Phase 2, the devices will begin notifying their users.
-
User notifications: The user receives notifications about the required management update. The frequency of these alerts increases as the deadline approaches (for example, daily notifications, then hourly).
-
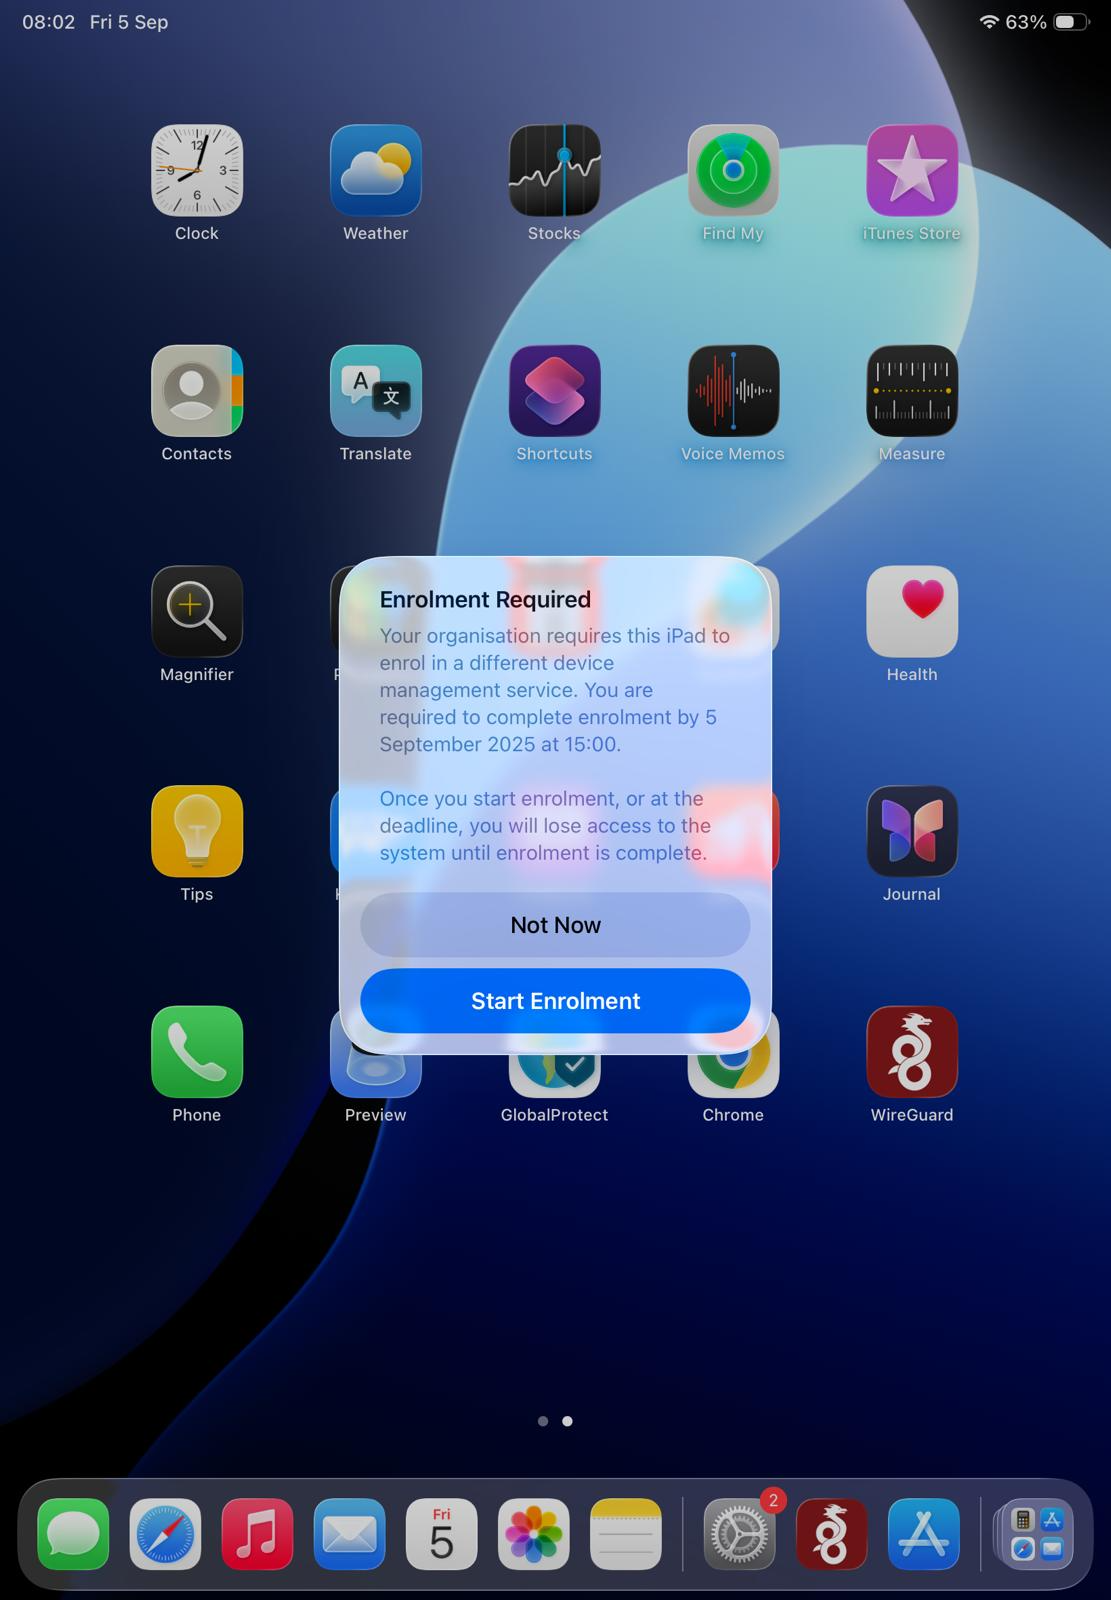
User-initiated migration: At any point before the deadline, the user can confirm they want to start the process on the notification or select Not Now to postpone it.
-
Forced migration at deadline: If the user takes no action, the migration is enforced automatically when the deadline is reached.
Differences in user experience by platform
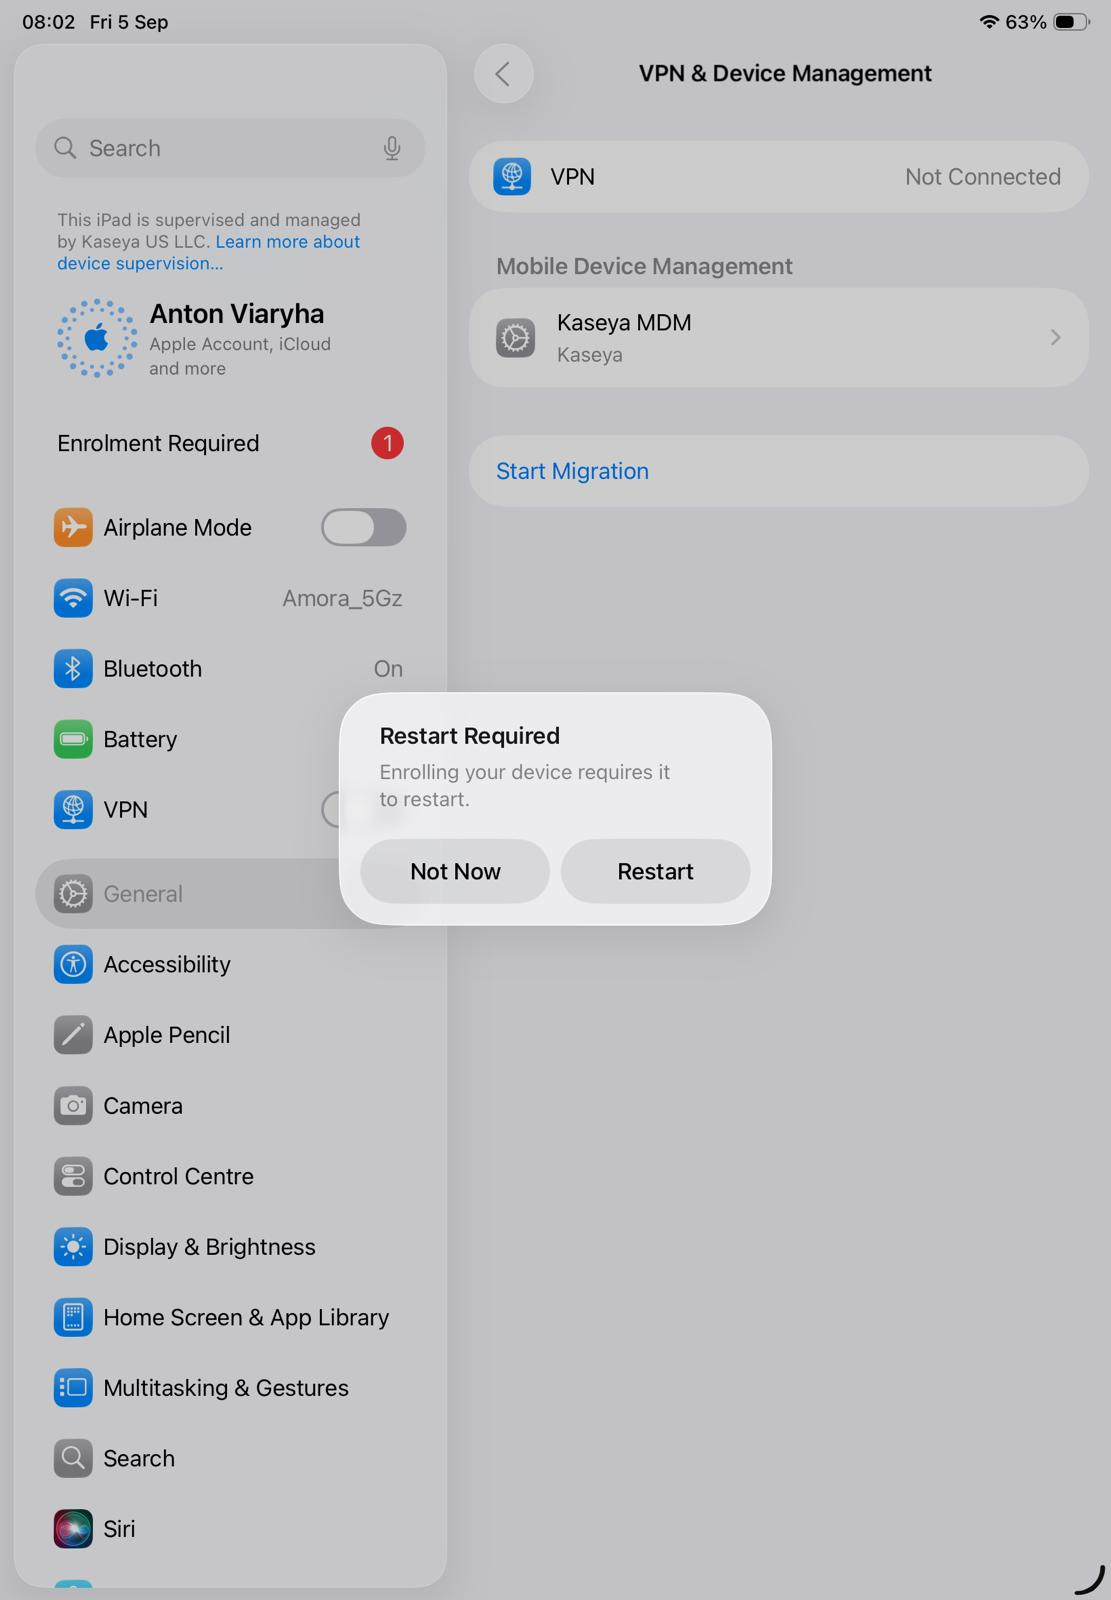
The user experience then the migration deadline expires will differ for users based on which OS is installed on their device. These differences are outlined below.
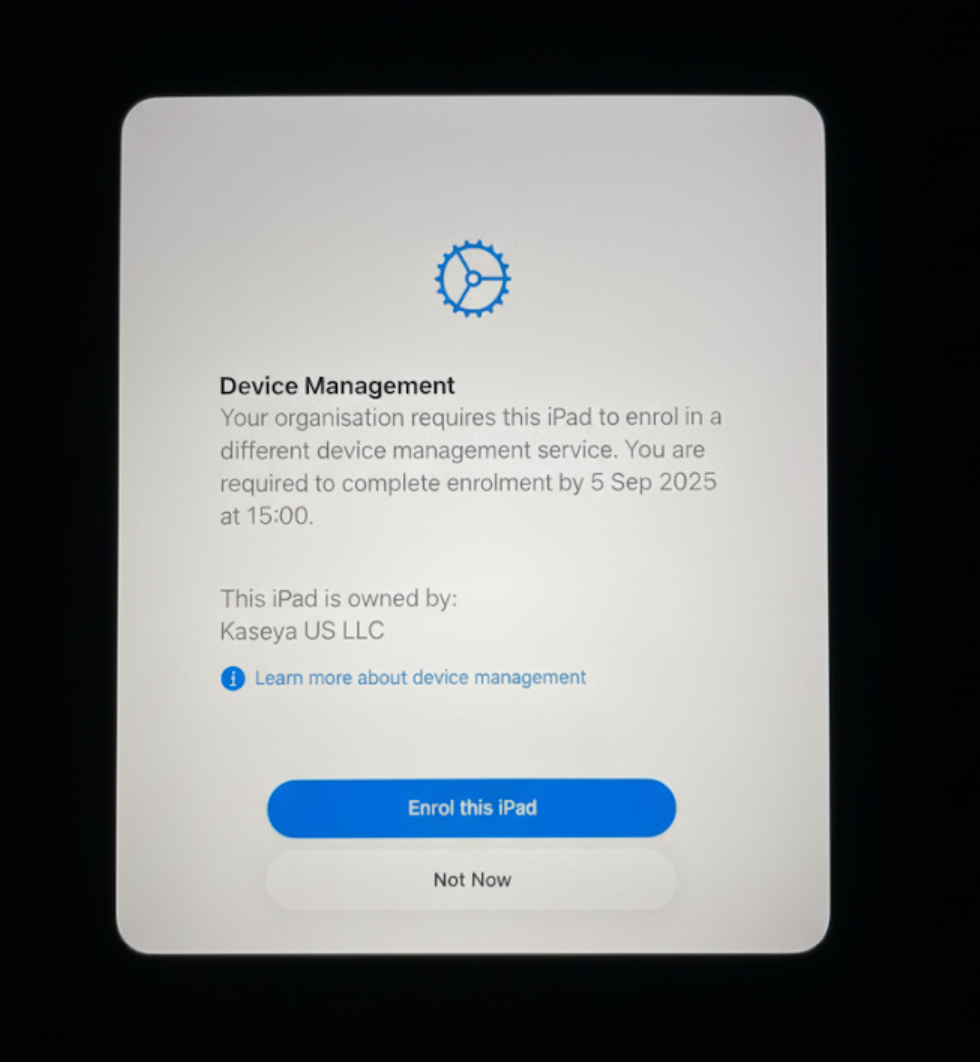
Prerequisite User experience when past migration deadline Details iOS and iPadOS The device will automatically restart and re-enroll the device in the new MDM service in the background. Device Restart: If the device is offline after restarting, a Wi-Fi picker appears so the user can connect to a network to complete enrollment. macOS A non-dismissible, full-screen prompt appears, blocking all other use of the computer until the user clicks through the enrollment steps. User Interaction: The user must actively click Enroll to complete the process. If a managed local user exists, they must be logged in to authorize the migration. No restart is needed.
Phase 4: Post-migration admin verification
-
Verify enrollment: Use the reporting tools in the new MDM to confirm that all targeted devices have successfully checked in and are now managed.
-
Audit device state: Run inventory reports to ensure devices have received the correct configuration profiles and that all necessary managed apps have been re-adopted and installed.
Known limitations and potential risks
-
Wi-Fi connectivity gap: The migration process removes the old MDM's configuration profiles (including Wi-Fi) before installing the new ones. If a device relies solely on a pushed profile for internet access, it will be knocked offline and will require the user to manually connect to a network to complete the re-enrollment.
-
App and data preservation: To preserve managed apps and their data during a transfer, the new Mobile Device Management (MDM) solution must reissue installation commands for those apps before the device configuration is finalized. If the new MDM fails to do this in time, the device will delete the old managed apps and their data. Because Kaseya MDM does not currently support this process (the await_device_configuration flow), all managed apps will be reinstalled, and their user-entered data will be lost.
-
Apps and Books (VPP) token: You must transfer the location token from the old MDM to the new one. While there is a grace period of about 30 days, failure to migrate the token will eventually cause app licenses to be revoked.
-
Activation Lock: Any Activation Lock enabled by the source MDM is automatically removed during migration. The destination MDM must be configured to re-enable it to ensure the device remains protected.
Device Re-enrollment
Android
Devices enrolled with a personally-owned (BYOD) connector will be able to navigate to Settings > Security > Device Administrators or Device admin apps, find the Device Policy application and toggle it off. Confirm that you wish to remove the work profile if prompted. Company-owned devices will require a factory reset to remove previous MDM enrollment.
iPhone and iPad
Users can remove the MDM profile by navigating to Settings > General > VPN & Device Management, selecting the MDM profile, and tapping Remove Management. If the device is supervised, it will remain supervised after re-enrollment.
macOS computers
To remove the MDM profile, users should open System Settings (for macOS Ventura [version 13] or later) or System Preferences (for macOS Monterey [version 12.0.1] or earlier), select Profiles, and click Remove (-) next to the current MDM profile.


