Remote Desktop profiles
NAVIGATION Administration > Configuration > Profiles > New Profile > Remote Desktop (Device Configuration) profile type
NAVIGATION Administration > Configuration > Policies
PERMISSIONS Administrator
Using the Remote Desktop type of Device Configuration profile, you have the ability to define how remote computer access functions for anyone remoting in to a computer through VSA 10.
To learn about the Remote Control feature in VSA 10, refer to Remote Control.
You can control whether the Remote Control feature is available for targeted devices and whether end users are notified of a Remote Control session. Options available for configuration include the Remote Control session pop-up dialog, the presence of auto-lock when disconnecting from a session, and whether you want to screen-record sessions.
For a comprehensive overview of how profiles and policies work in VSA 10, refer to Policies overview.
Profile configuration settings
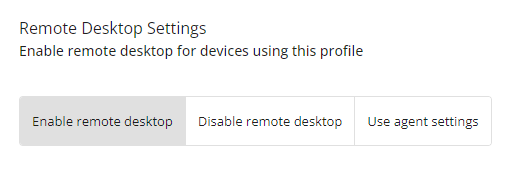
In Remote Desktop Settings, select which option will apply to devices targeted by this profile:
- Enable remote desktop: Enables remote control and allows configuration of the other settings in this profile.
- Disable remote desktop: Disables remote control.
- Use agent settings: Defers to the remote control settings at the agent level. Refer to to Agent level in Remote Control.
NOTE The Remote Control feature is enabled by default.
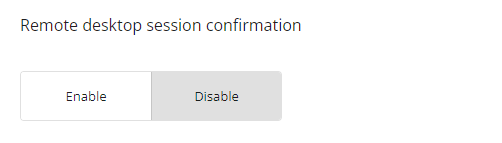
If Remote Desktop Session Confirmation is enabled, then end users will receive a pop-up message when a remote control session is requested against their device, and they can choose to accept or reject it.
Additionally, you can choose if the connection will be automatically allowed or denied if the user confirmation message times out.
NOTE Remote Desktop Session Confirmation is disabled by default.
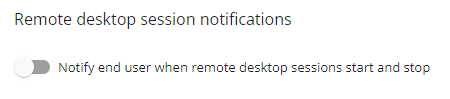
If Remote Desktop Session Notifications is enabled, then end users will receive a notification when a remote control session starts or ends on their device. This is a separate notification than the remote control session pop-up confirmation.
NOTE Remote Desktop Session Notifications are enabled by default.
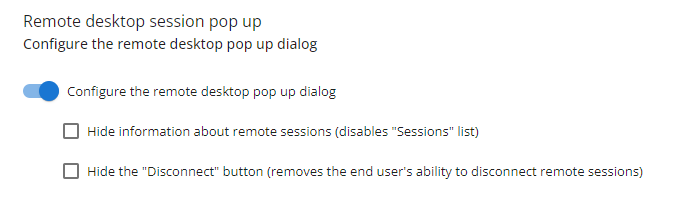
If Remote Desktop Session Pop Up messages are enabled, you can control what information end users see in the messages, hiding information about remote sessions and/or hiding the Disconnect button, which removes the end user's ability to disconnect a remote control session to their machine.
NOTE If this setting is disabled, then this dialog will be hidden from the end user altogether.
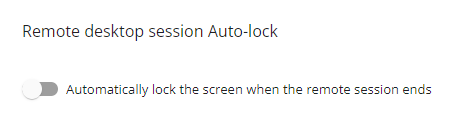
If Remote Desktop Session Auto-Lock is enabled, if a user is logged in when the remote control session ends, their session will become locked.
NOTE This feature is not supported when more than one Remote Control session is actively established with a given agent.
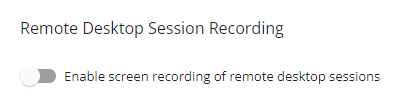
If Remote Desktop Session Recording is enabled, remote control sessions can be recorded from the remote session tools. Select Enforce recording for all remote desktop sessions to automatically record all remote control sessions on targeted devices. To learn more about recording remote control sessions, refer to Record Session in Remote Control.
NOTE Remote Control session recording is available only for Windows devices.
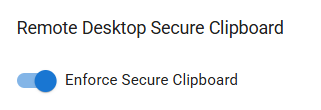
If Remote Desktop Secure Clipboard is enabled, it will not be possible to copy content between the technician and remote machine using standard operating system controls such as Ctrl+C/Ctrl+V.
Instead, technicians will be able to use the Secure Paste button in the remote control toolbar. Refer to Remote session tools.
NOTE Remote Desktop Secure Clipboard is disabled by default.
To create a Remote Desktop profile, perform the following steps:
- From the left navigation menu in VSA 10, navigate to Configuration > Profiles.
- The Profiles page will load. At the top of the page, click New Profile.
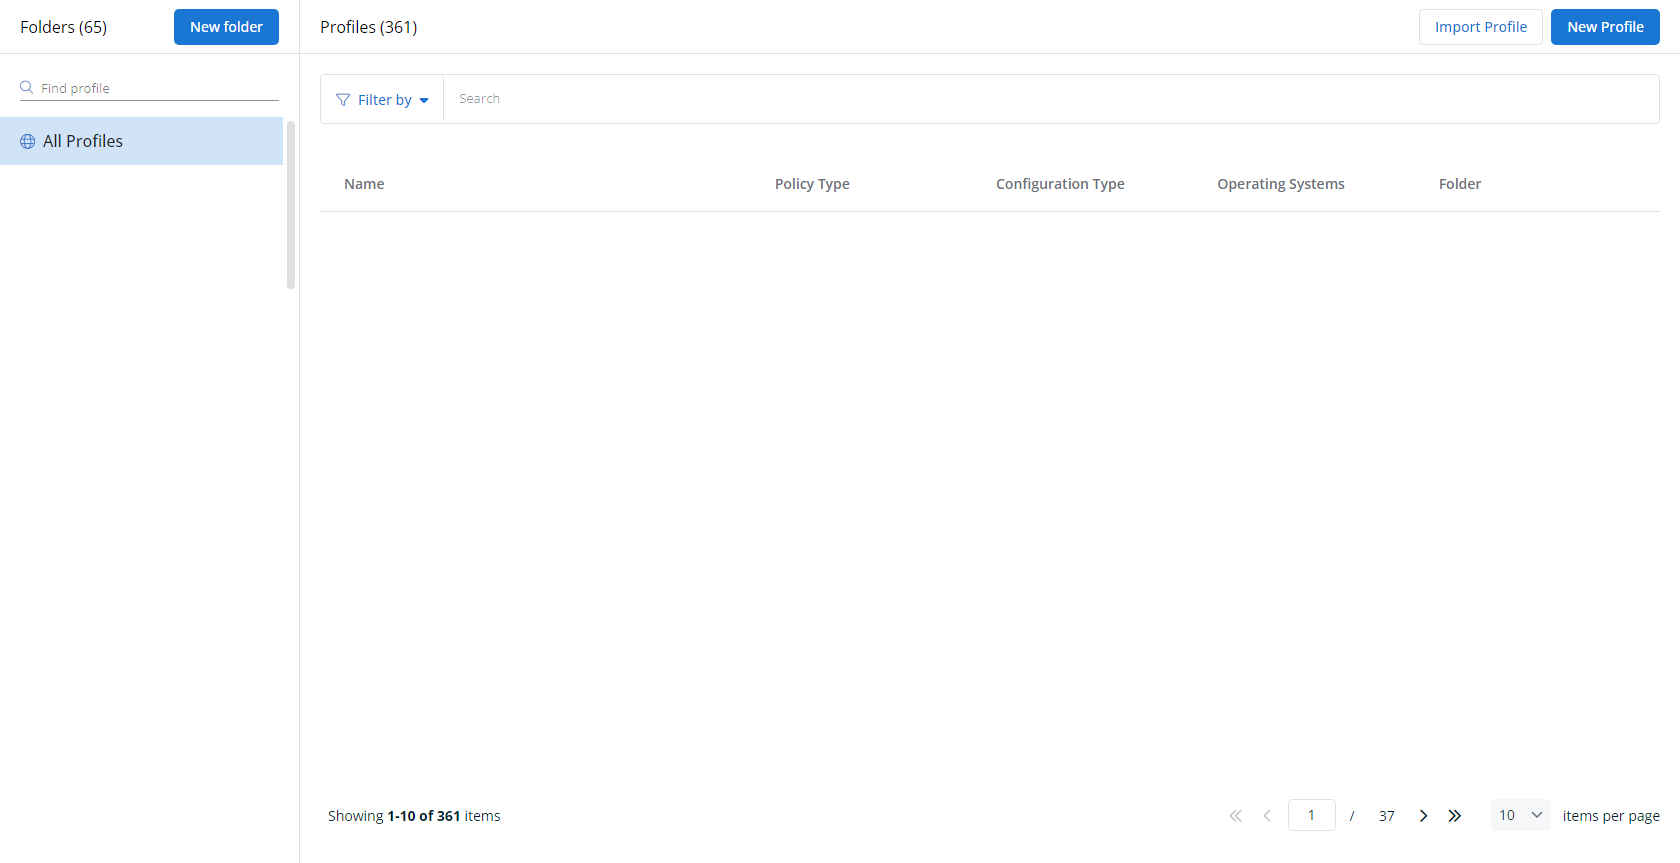
-
The Create New Profile page will load.
EXAMPLE
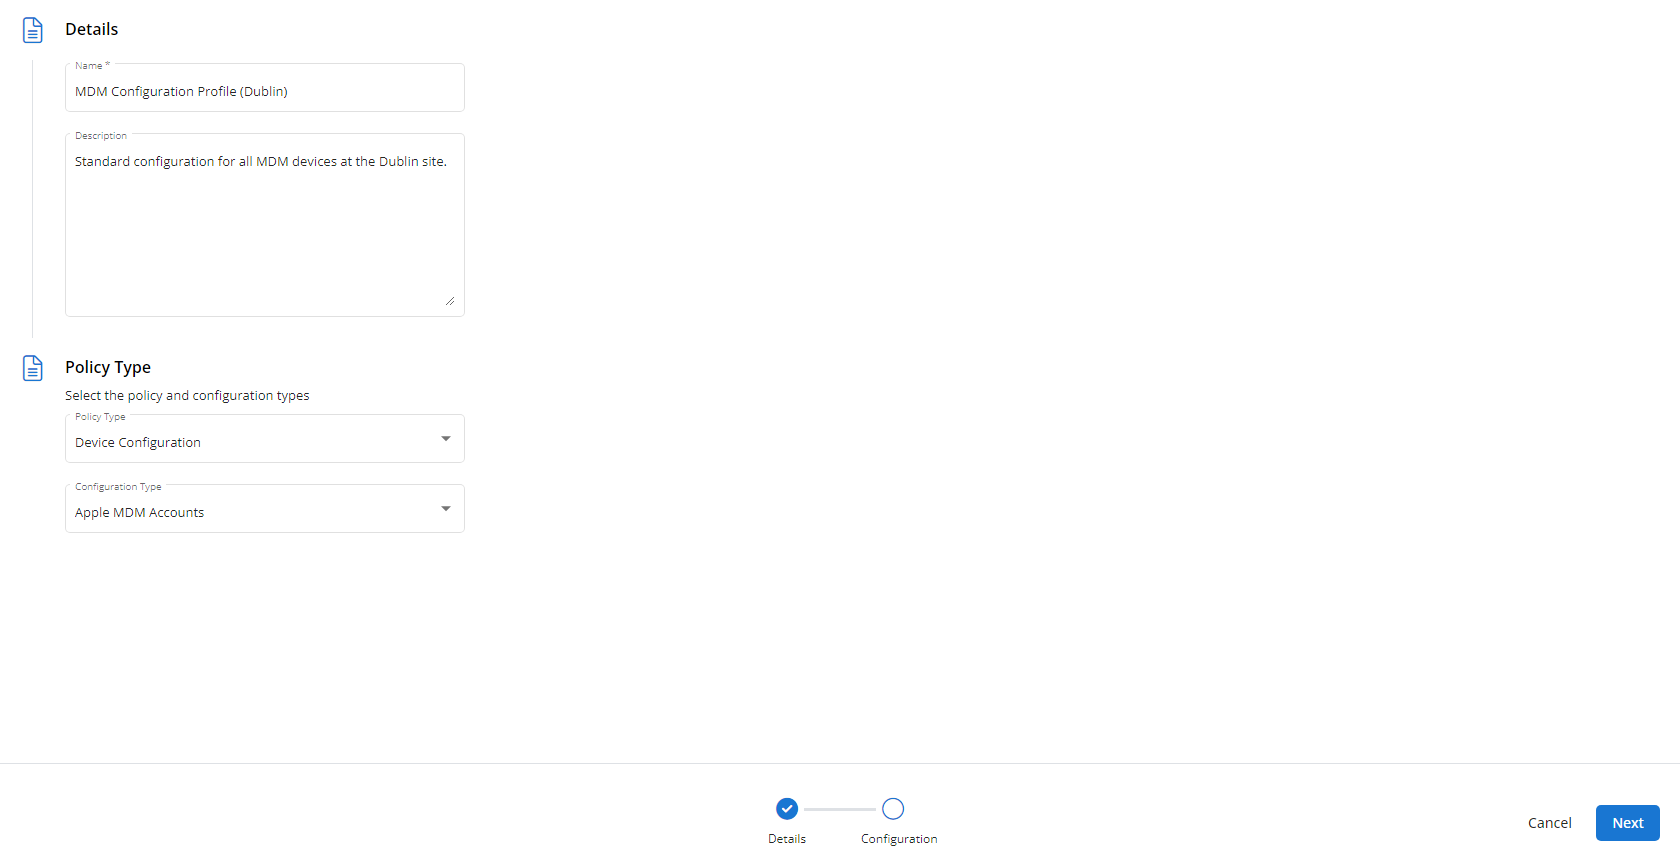
- In the Name section, enter a name for the profile.
- Optionally, enter information about the profile in the Description section.
- In the Profile Type section, select Remote Desktop underneath Device Configuration.
- Optionally, assign relevant tags in the Content Tag section.
- Click Next.
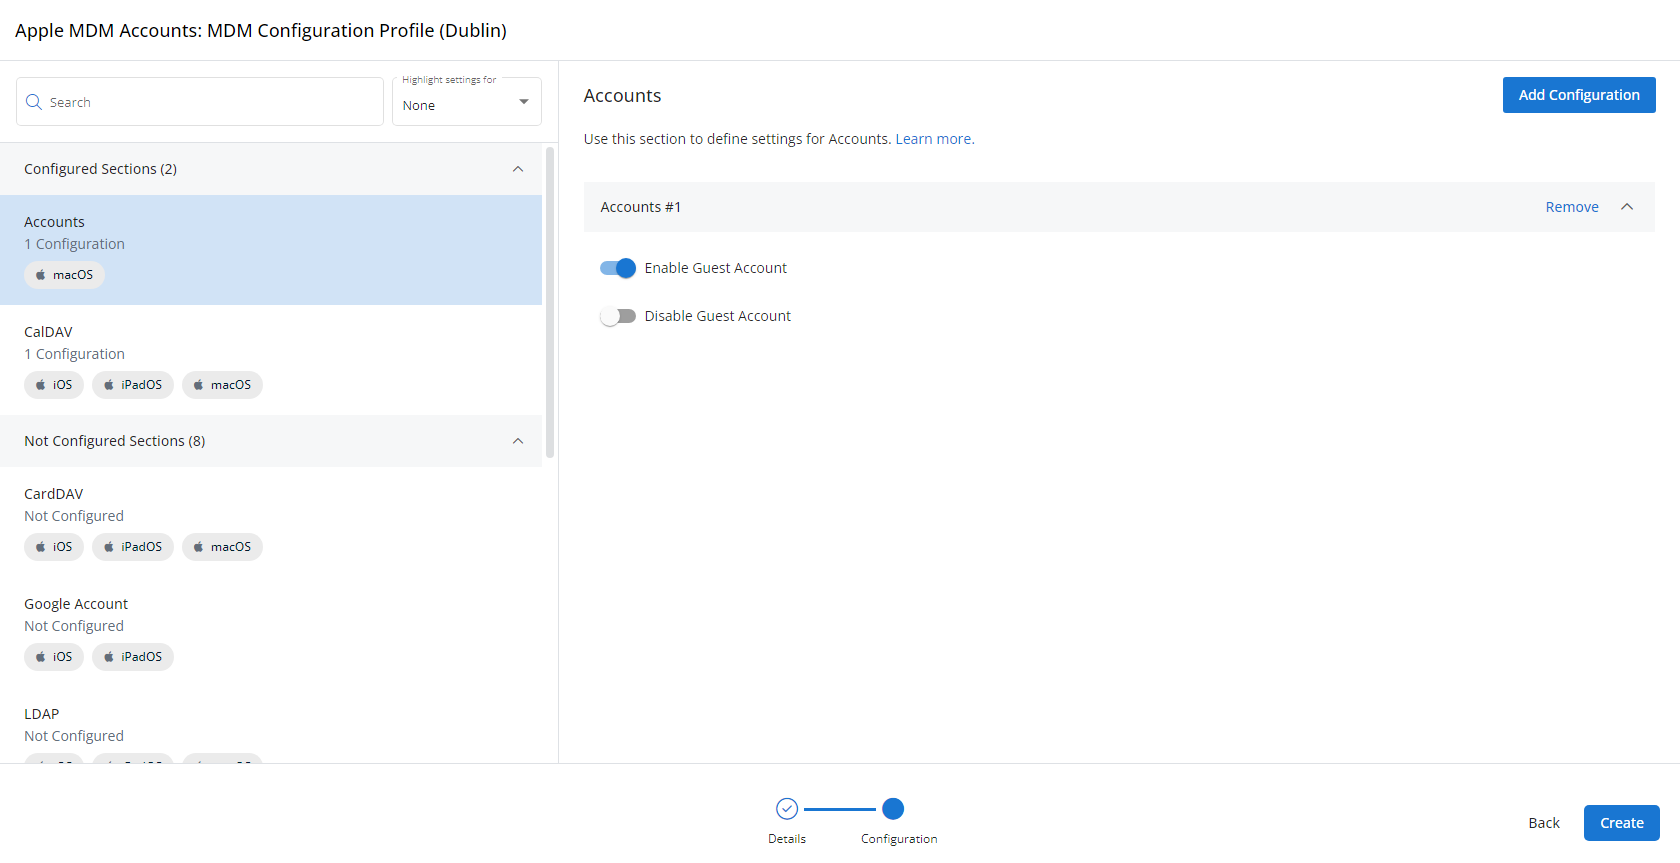
- Customize the profile to your needs. Reference the Profile configuration settings section, if needed.
- When you've finished customizing the profile, click Create.
EXAMPLE
Next, you'll need to create a policy that defines the devices to which you'd like to automatically apply your configuration. Complete the following steps:
- Navigate to Configuration > Policies. Create a new policy or edit an existing policy.
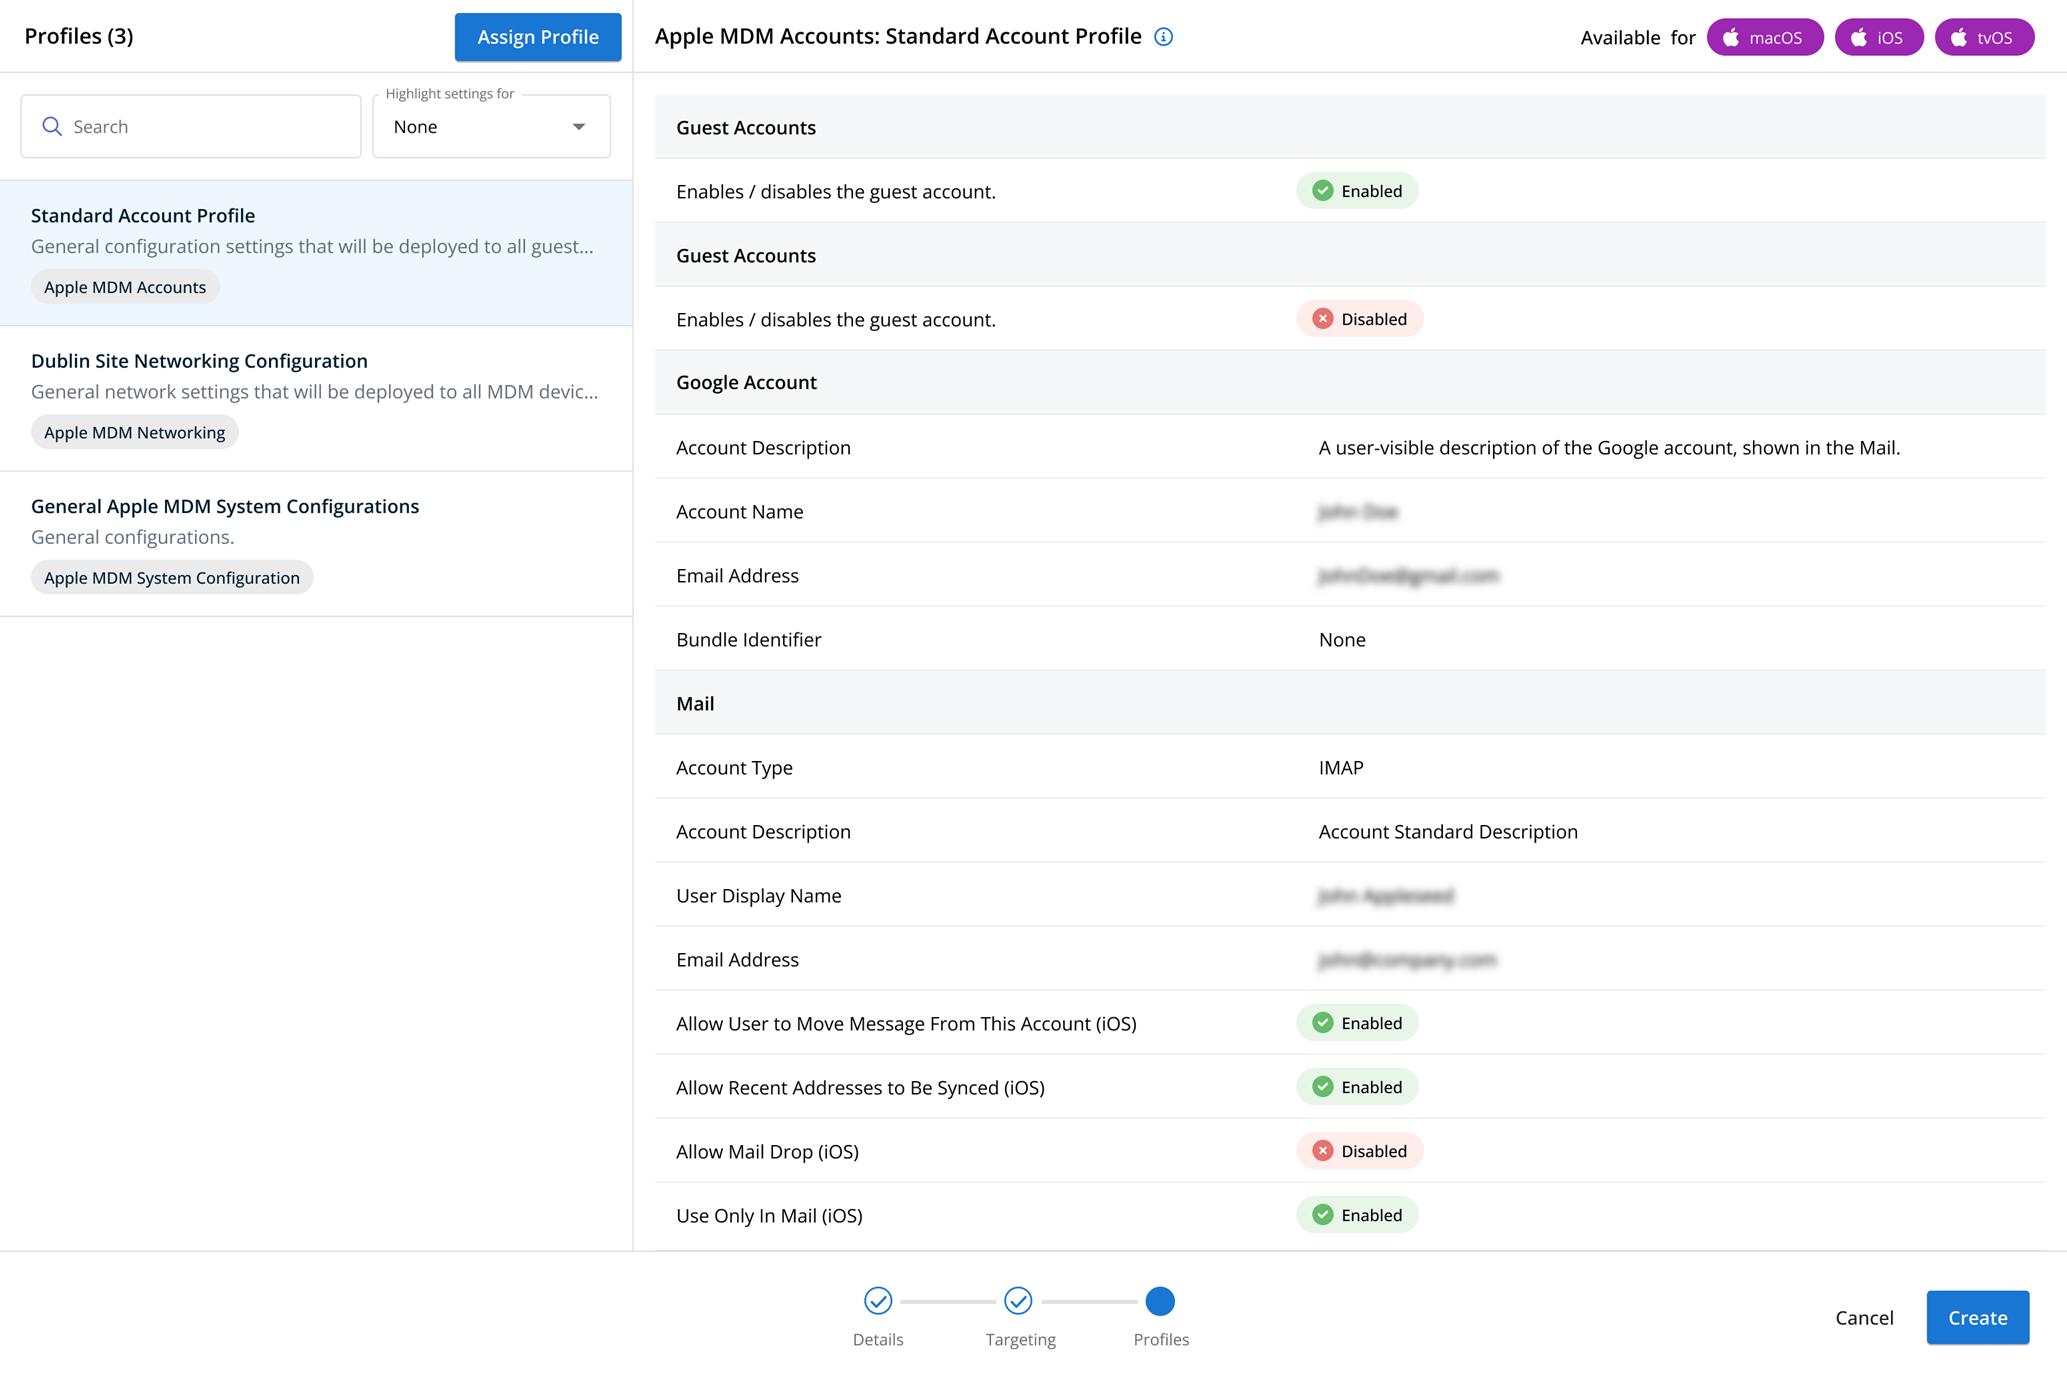
- Click Assign Profile.
- Locate the profile you'd like to use. Select it by clicking the radio button next to its name.
EXAMPLE
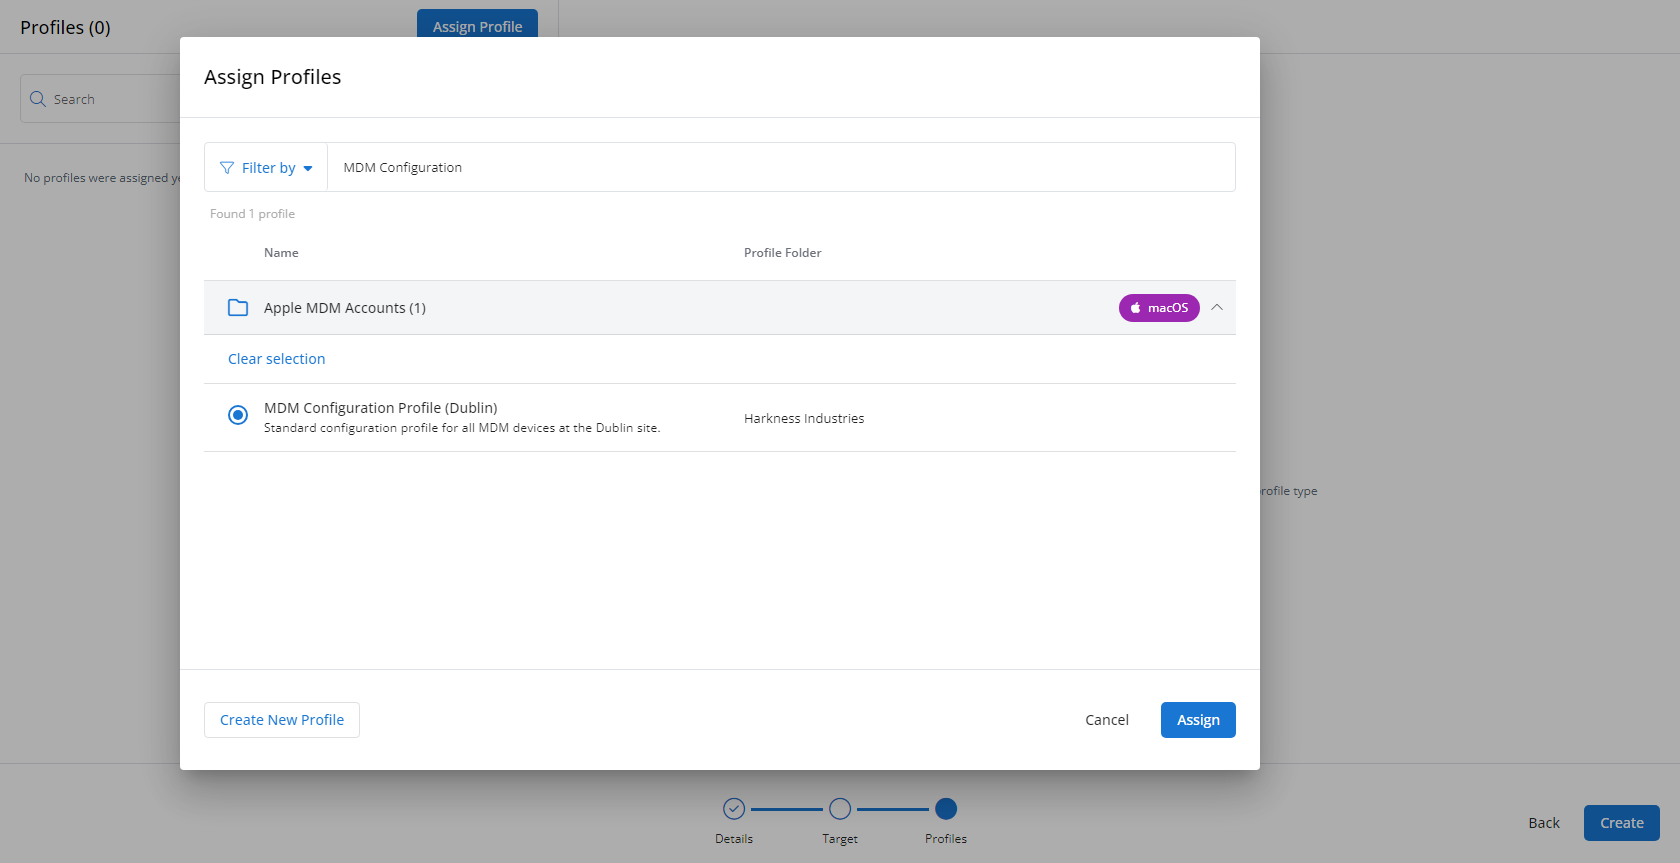
- Click Assign.
- VSA 10 will begin enforcing the selected profile immediately. You can view it in effect at Configuration > Policies.
EXAMPLE