Advanced Reporting: Info pane
NAVIGATION
Modules > Advanced Reporting > Create icon ![]() > Create Report > select report type > Create >
> Create Report > select report type > Create > ![]() Info
Info
NAVIGATION
Modules > Advanced Reporting > Categories icon ![]() > click a row > Edit >
> click a row > Edit > ![]() Info
Info
PERMISSIONS Advanced Reporting
While designing reports, you may need to configure additional settings, such as default view settings, export settings, caching settings, the height of the parameter panel, and so forth. The Info pane in the report designer allows you to set this report information.
The Info properties are separated into the following sections:
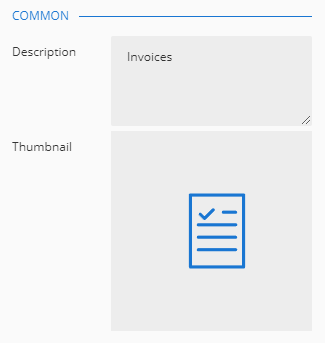
Add a report description and thumbnail image.
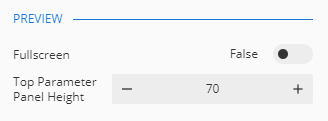
Configure the following settings that apply when previewing reports:
Fullscreen: Upon previewing the report, by default, the action bar is at the top.
Top Parameter Panel Height: You can set the default height of the report parameter panel, with a minimum value of 70 for the height. You can also adjust this height by dragging the mouse during the actual preview.
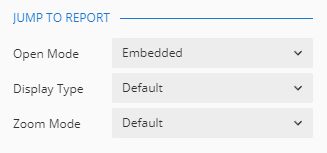
The following display settings are available:
Open Mode: Sets the style when opening a new document while jumping to another report. Three open modes are available:
- Embedded
- Dialog
- New Window
Display Type: Sets the display type when opening reports in a dialog box. Three open modes are available:
- Default
- Page
- Galley
Zoom Mode: Sets the zoom mode when opening reports in a dialog box. Three open modes are available:
- Default
- Fit to Width
- Fit to Page
Open Mode: Sets the style when opening a new document while redirecting to a URL. Two options are available:
- Dialog: Reopens a dialog box to display the target URL page. You can customize the size of the dialog box along with other details.
- New Window: Reopens a window to display the URL page, with no need to set the opening style.
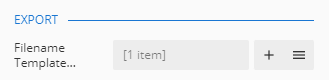
When you export a report, the name of the exported file is fixed, but sometimes you'll want to customize the file name to distinguish it. The name of the exported report will change according to the value you set when configuring the filename template.
To add a filename template, click Add and enter in a value directly, or you can click the Data Binding option on the right, which looks like a small square, to add an expression. By default, this square is gray. If using an expression, the box will change to be yellow, and if using a hard coded value, it will change to be green. 
After adding a filename template, the Filename Template Parts will display as shown when collapsed: